|
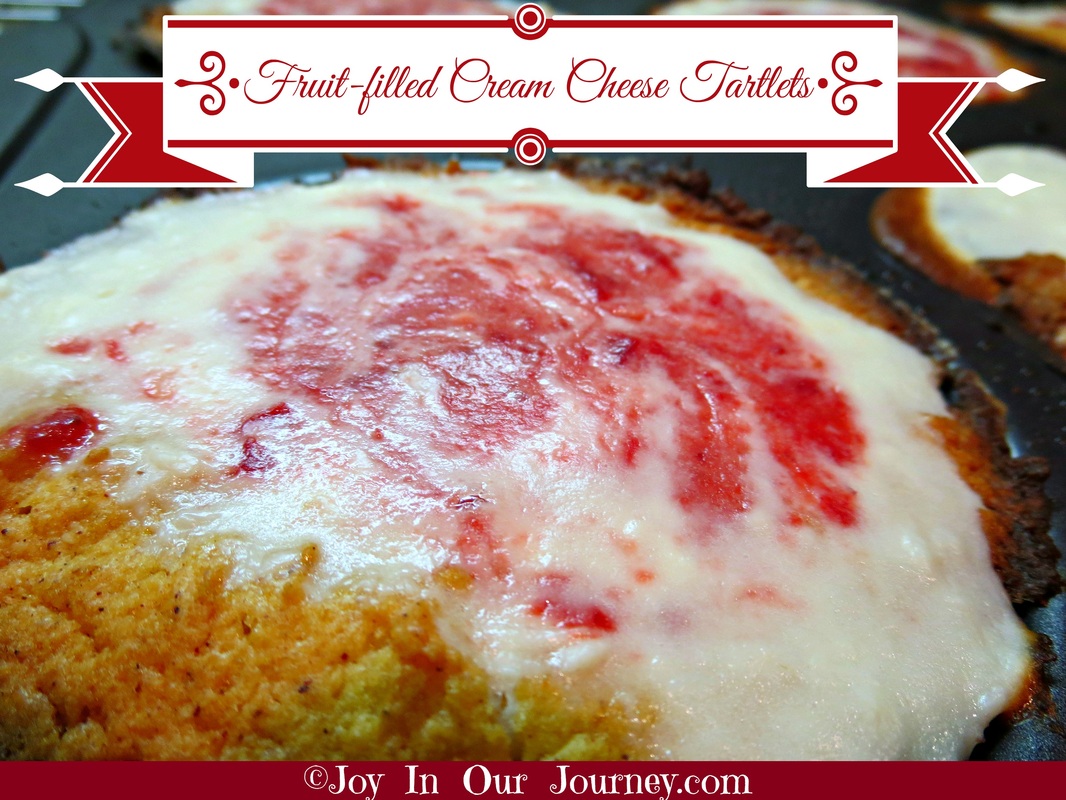
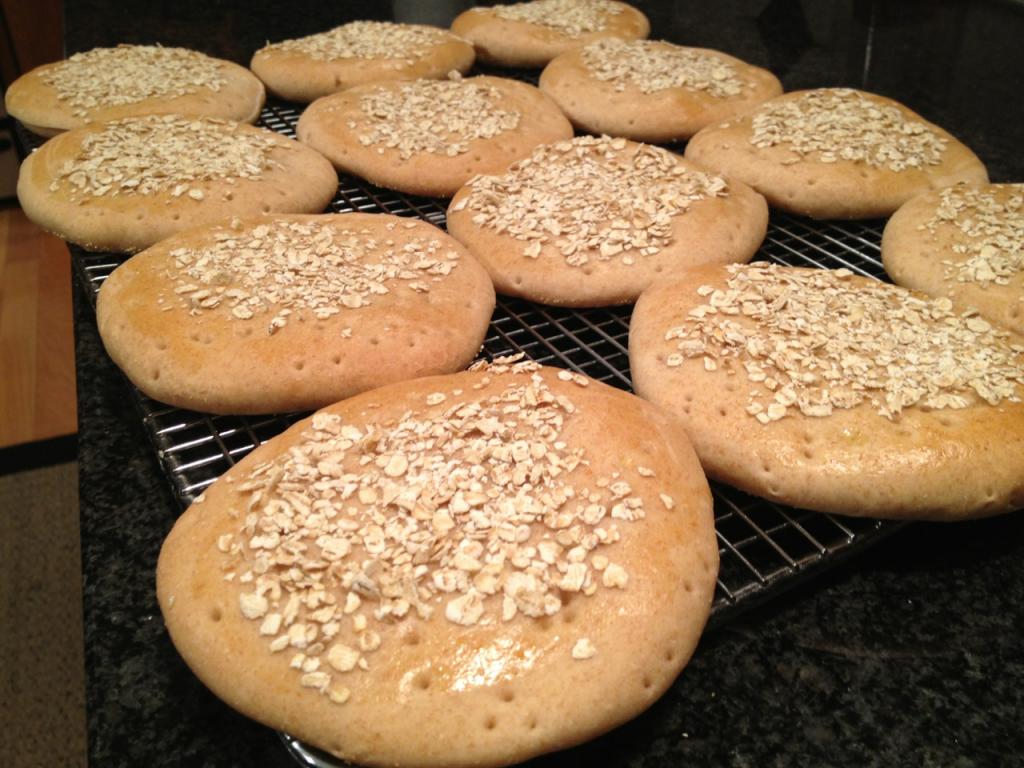
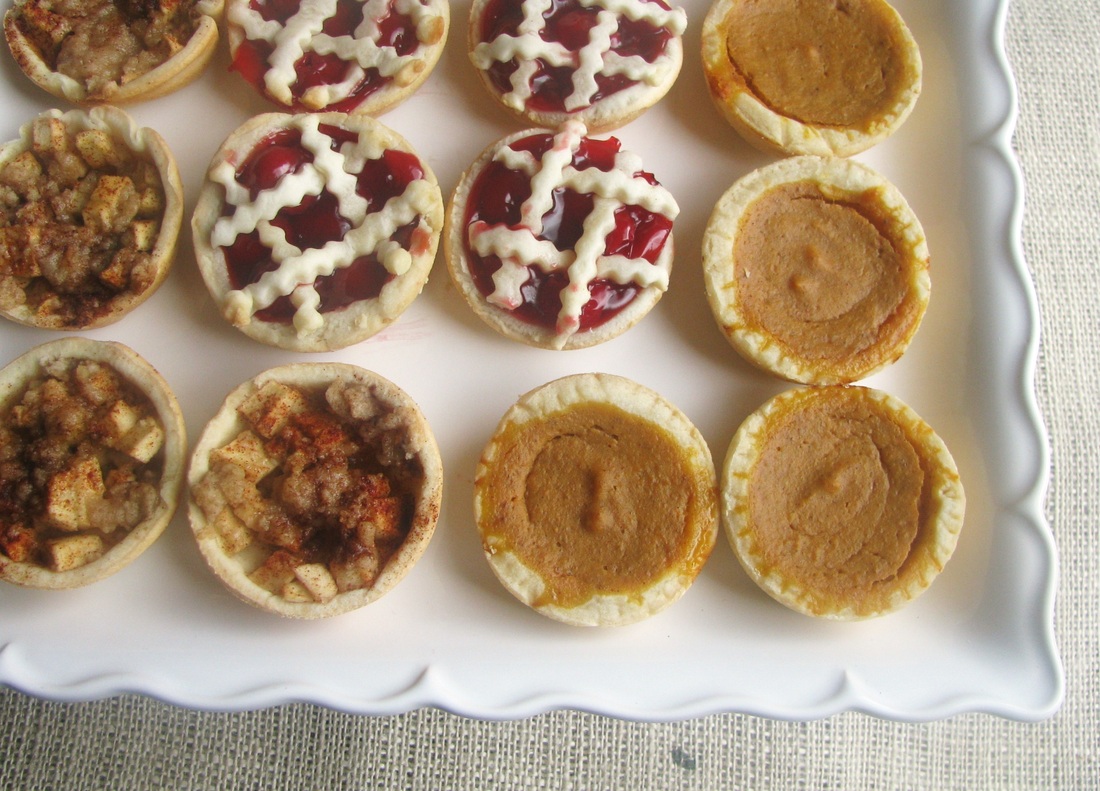
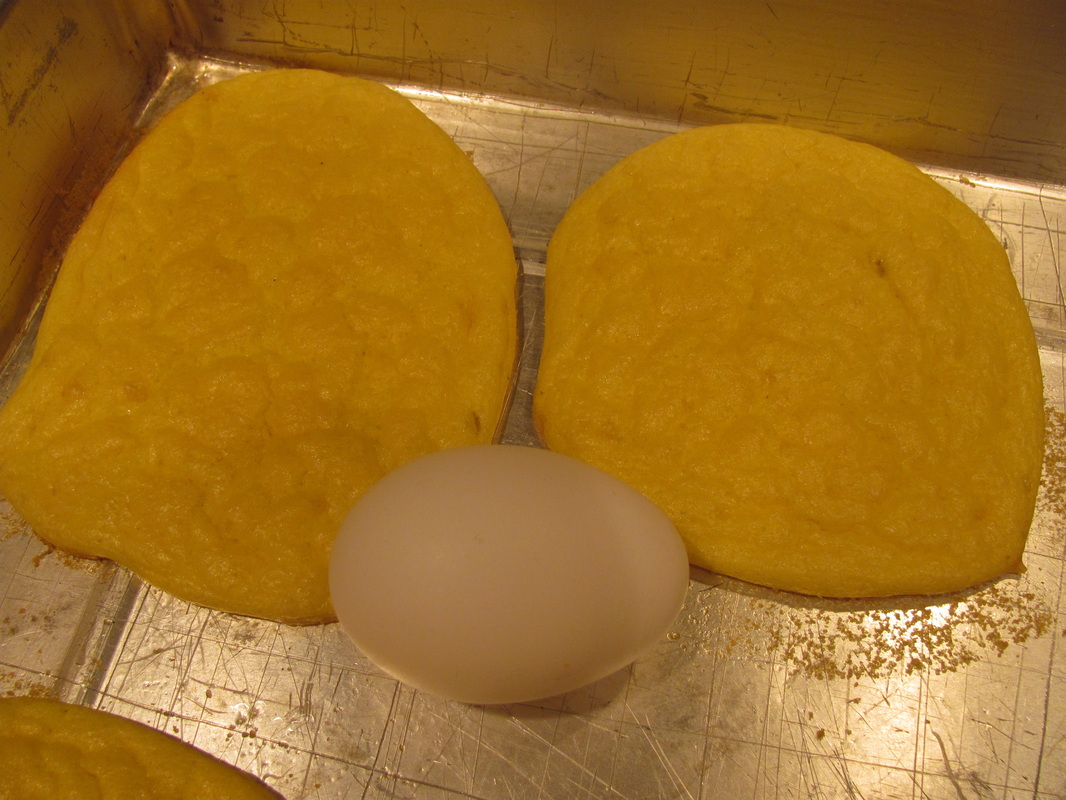
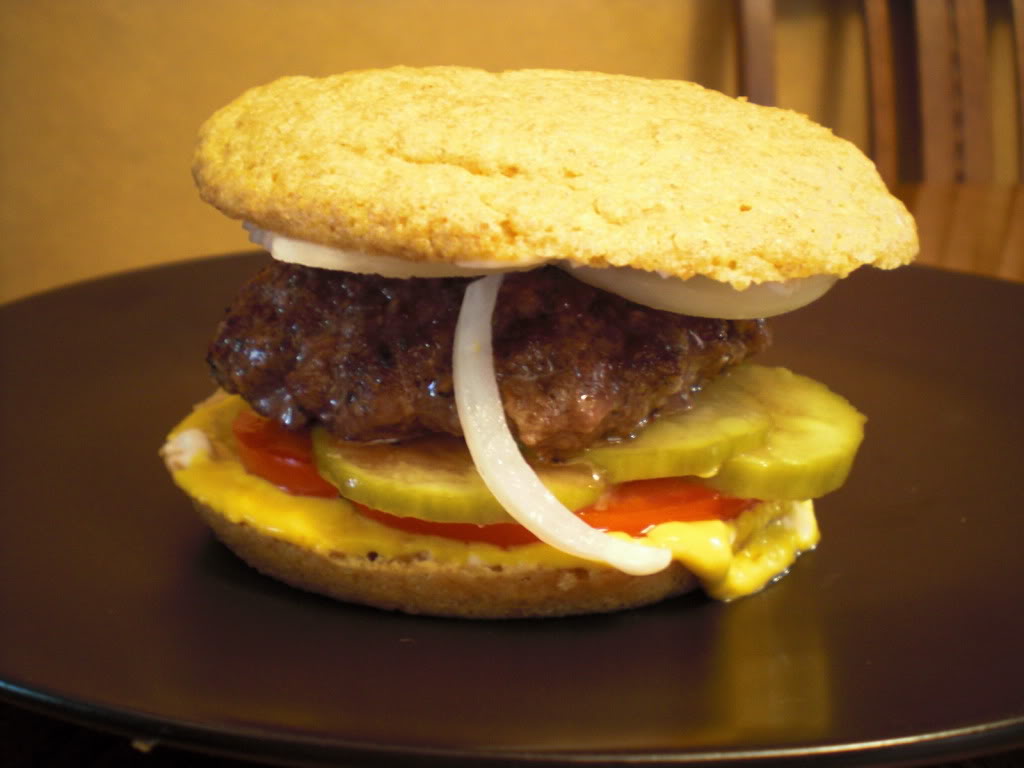
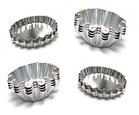
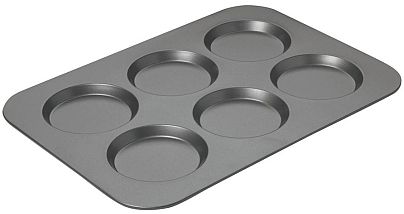
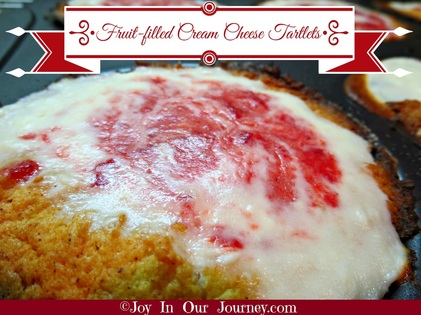
My family was craving some pastry-type of breakfast treat that was still "on plan" and healthy for us, so I searched around and found a recipe on CutTheWheat.com and adapted it to fit my style of cooking and my family's favorite way to eat! This recipe requires the use of something you might not have in your kitchen: a muffin-top pan, or a whoopie pie pan. You may also use tartlet pans. If you are on either a low-carb, Paleo, diabetic, sugar-free, or gluten-free diet, or you are following a Healthy and Trim lifestyle eating plan, I can't begin to express how helpful a muffin-top pan or whoopie pie pan can be! Think... ...sandwich thins ...hamburger buns ...larger cookies ...mini pies ...tartlets ...single-serving layer cakes ...oven-baked pancakes ...mini-fritattas ...baking eggs in round shapes for breakfast sandwiches ...and of course, muffin tops ...and whoopie pies. And, of course, all low carb. Woot! The recipe:
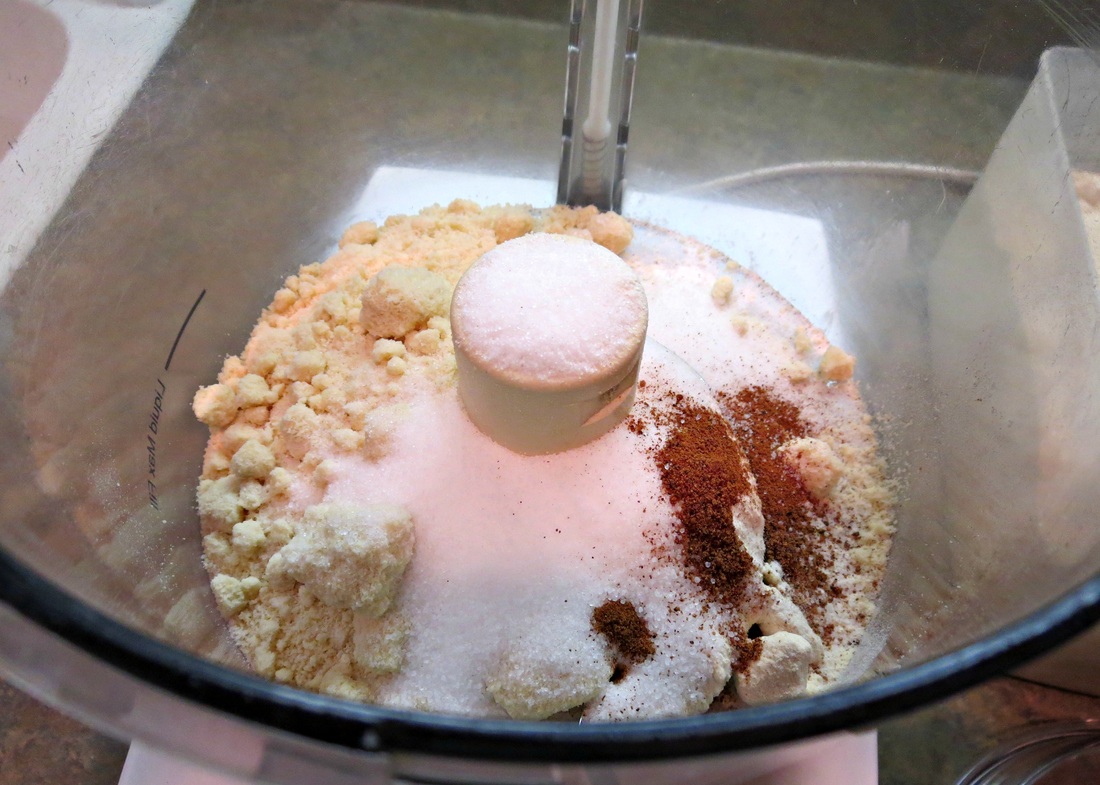
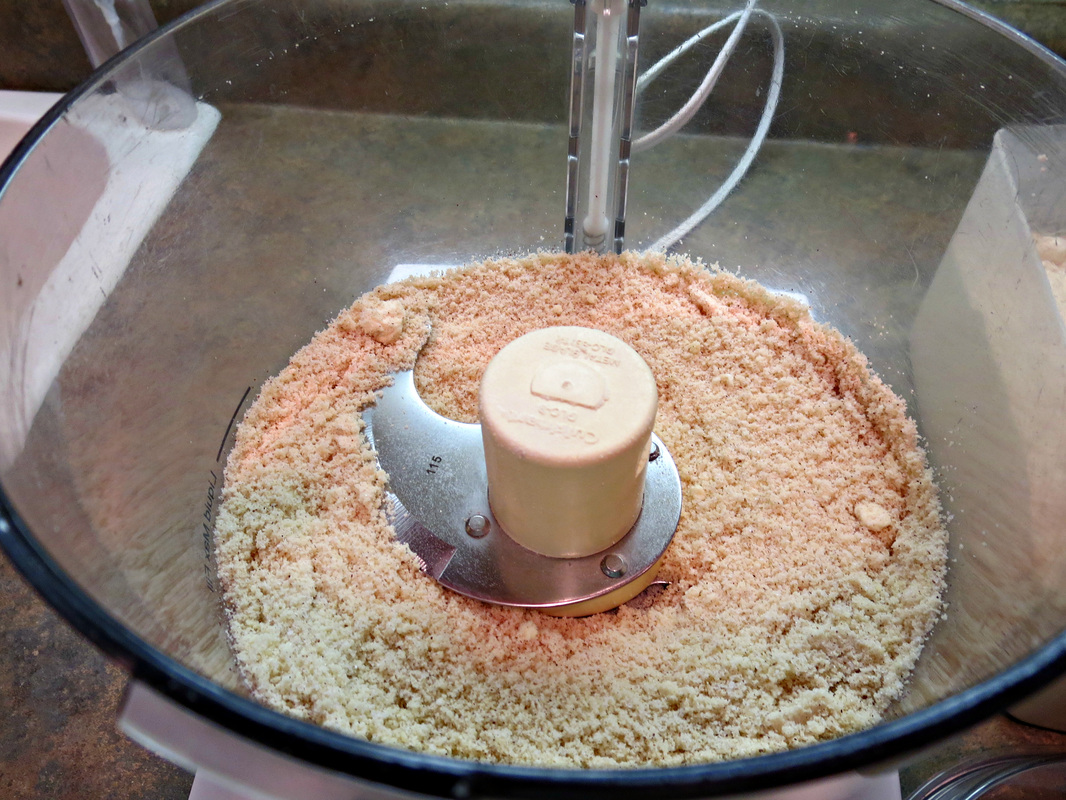
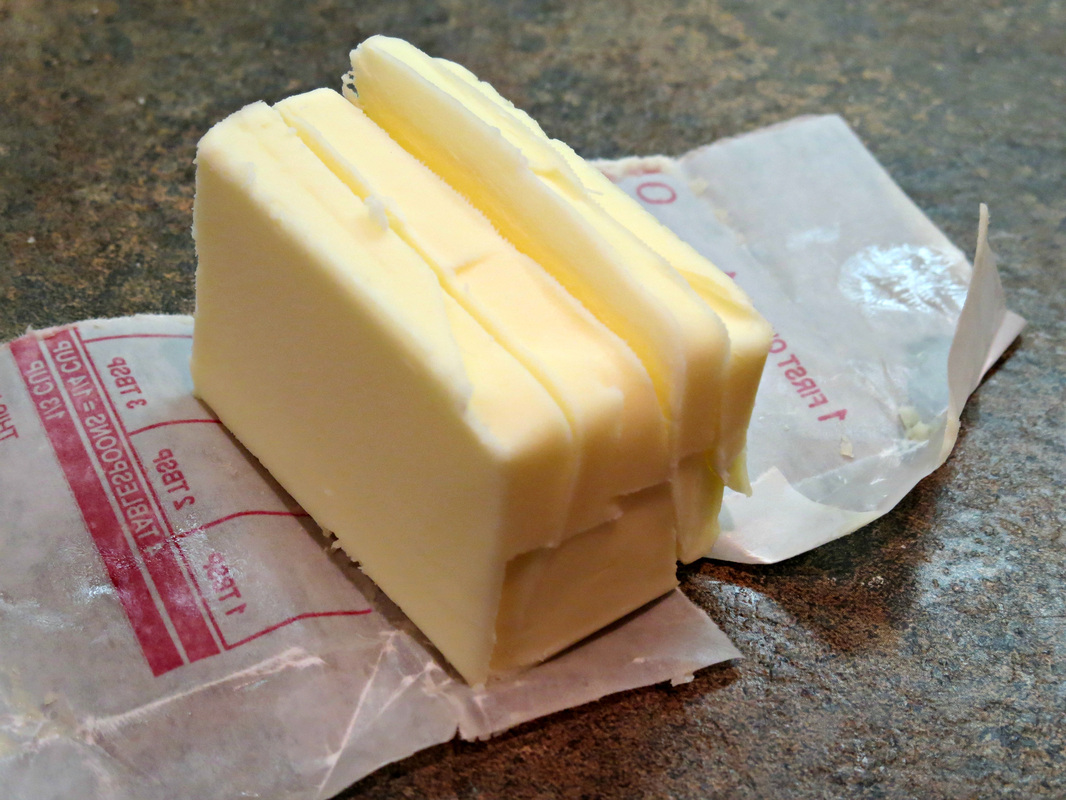
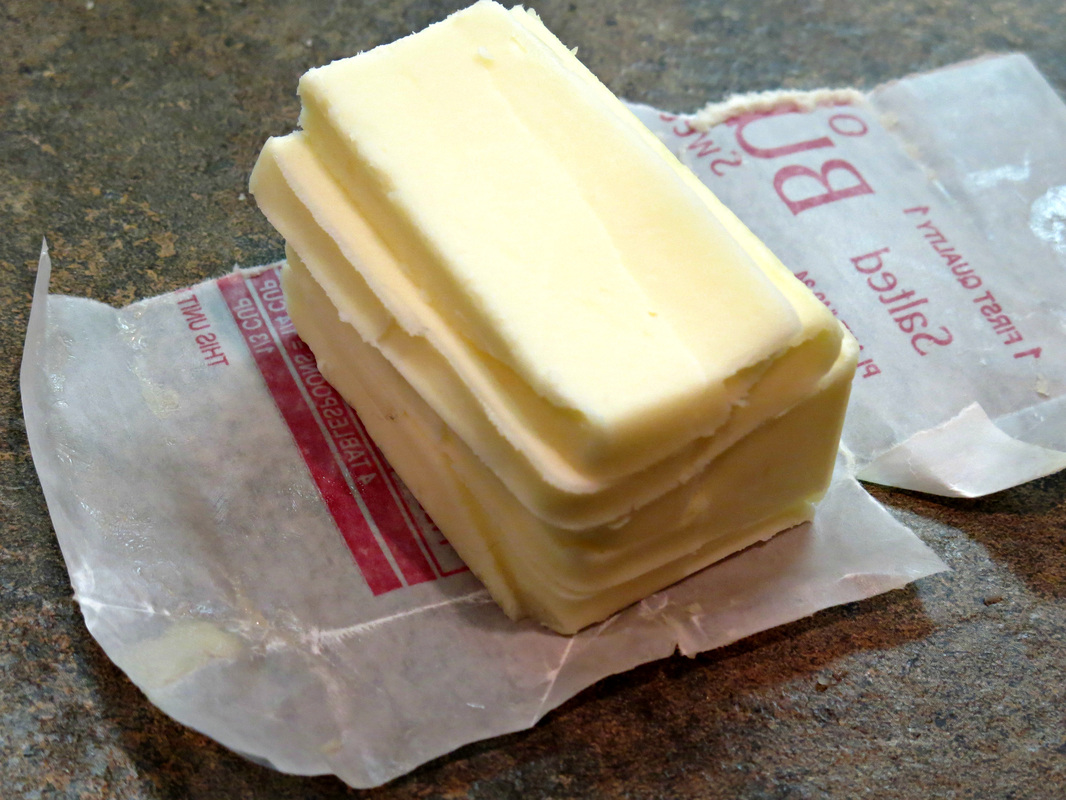
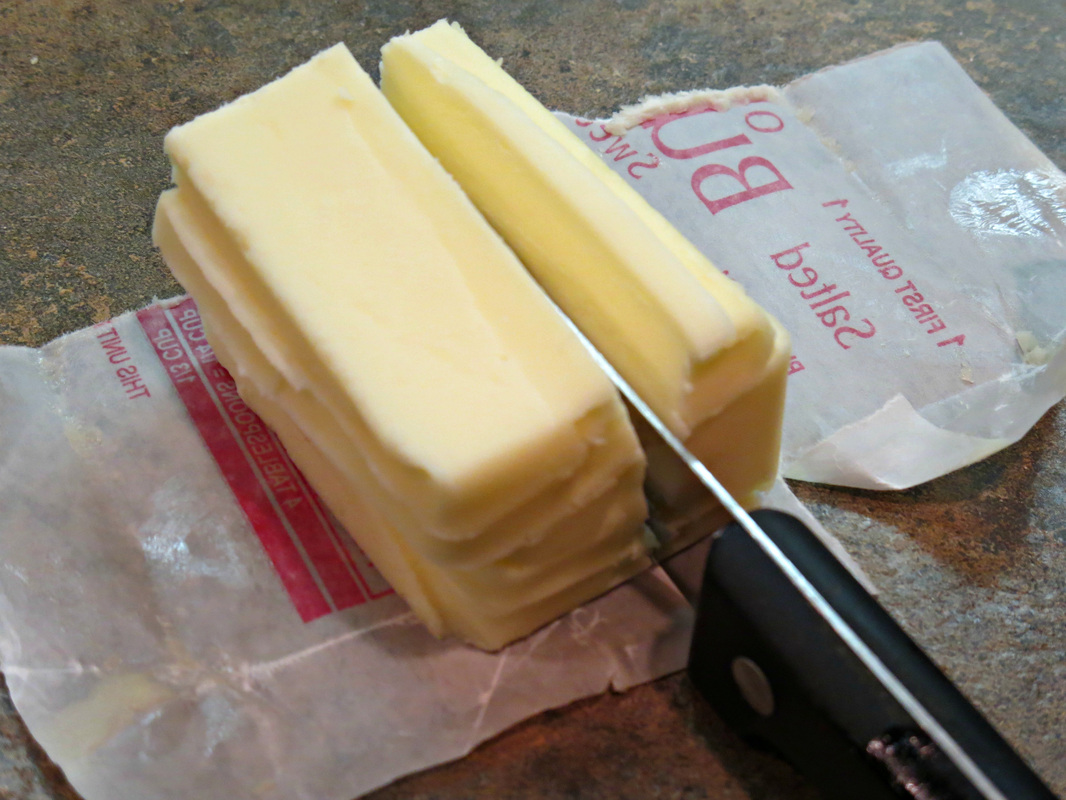
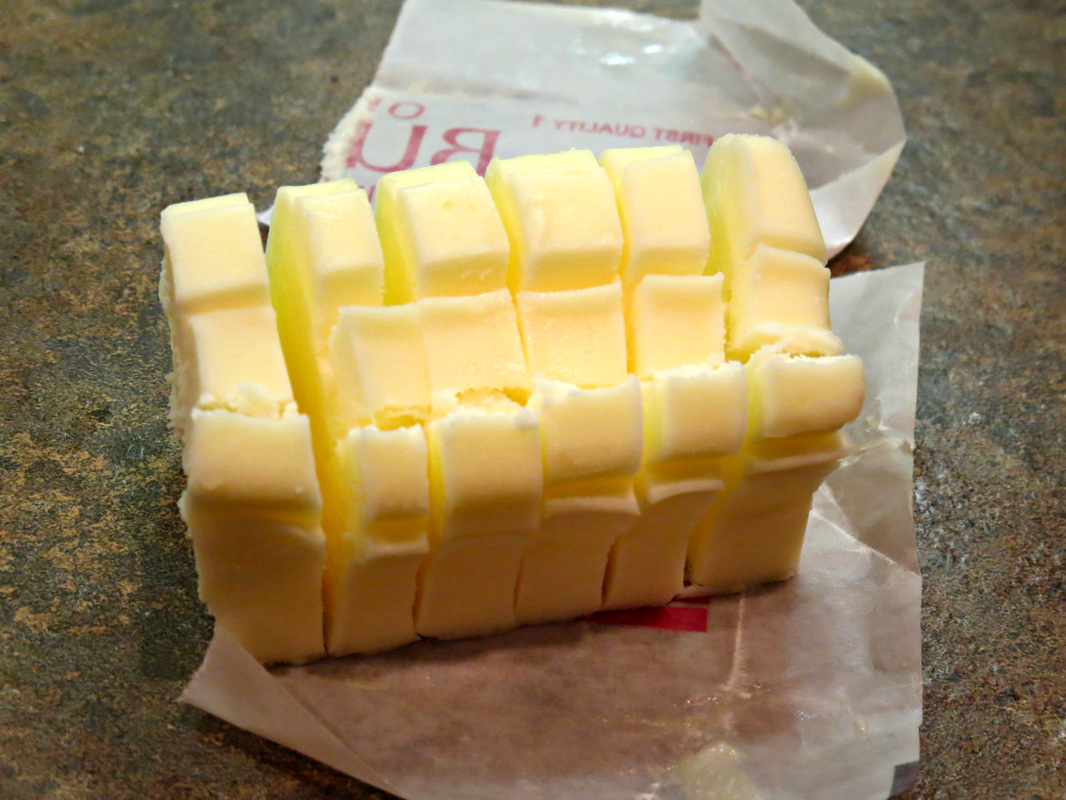
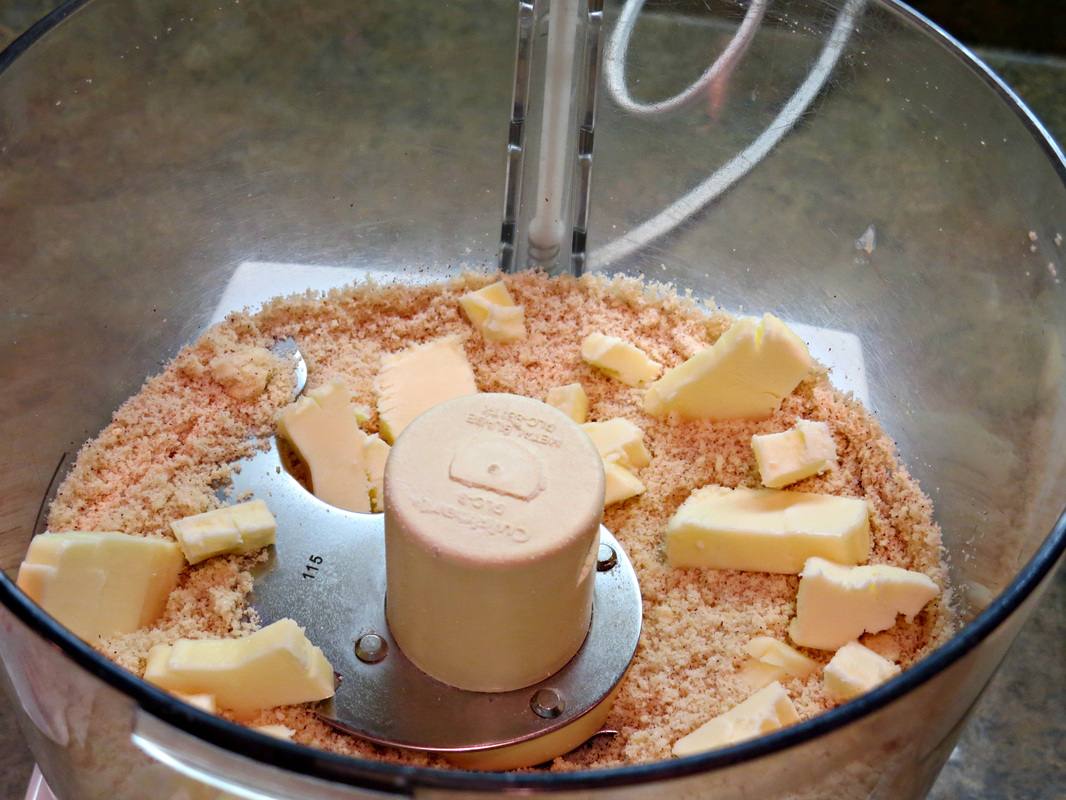
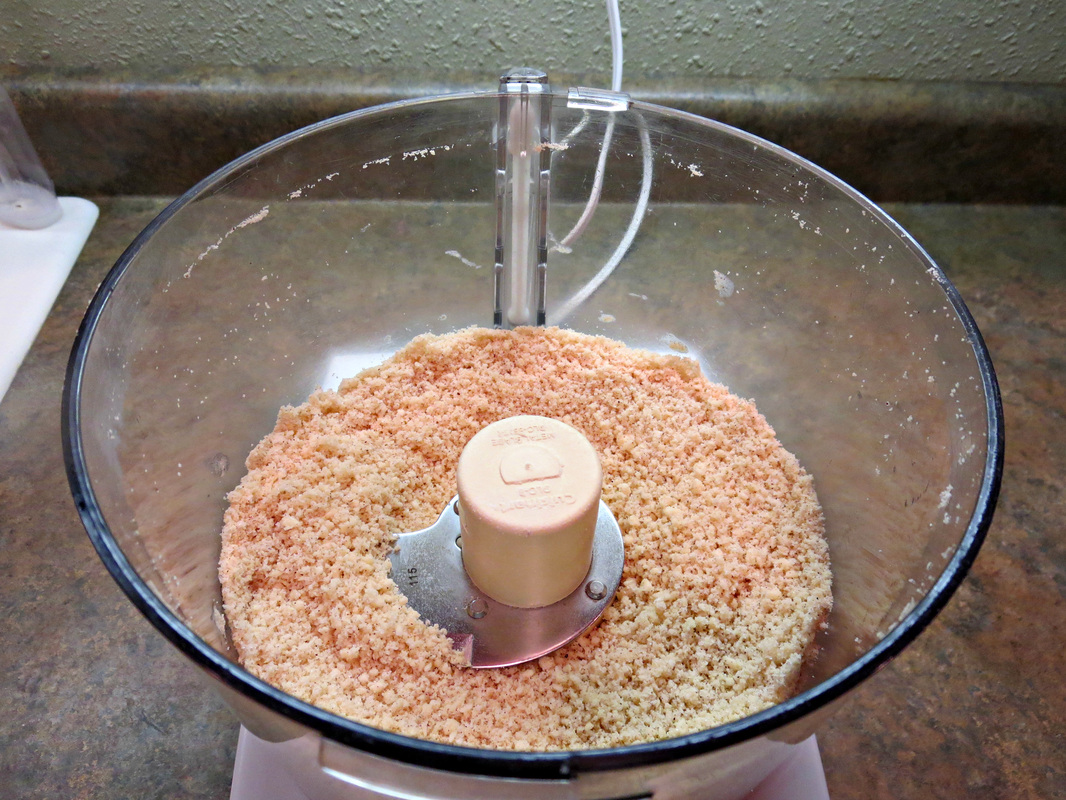
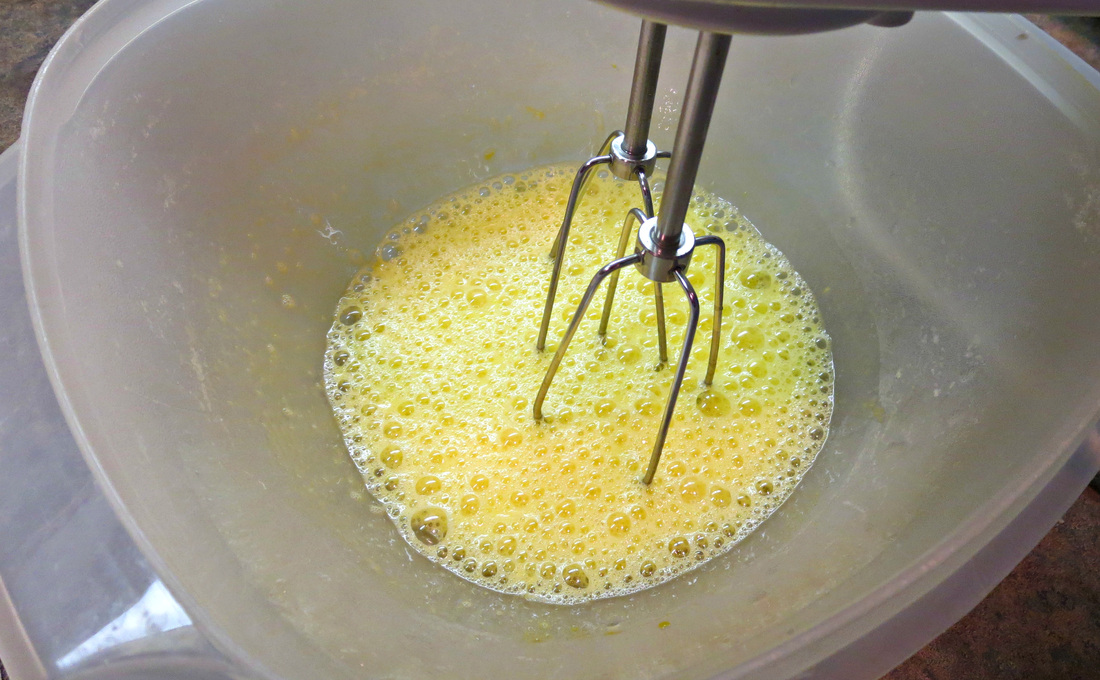
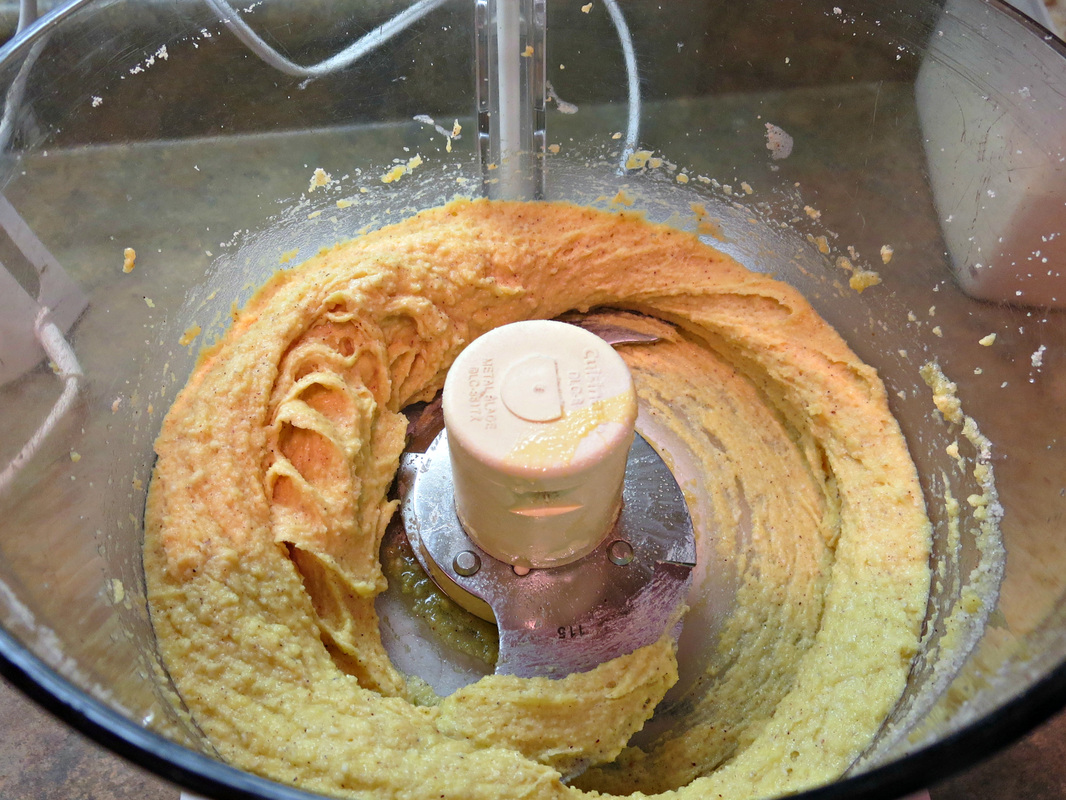
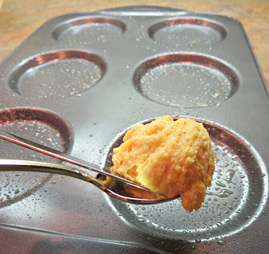
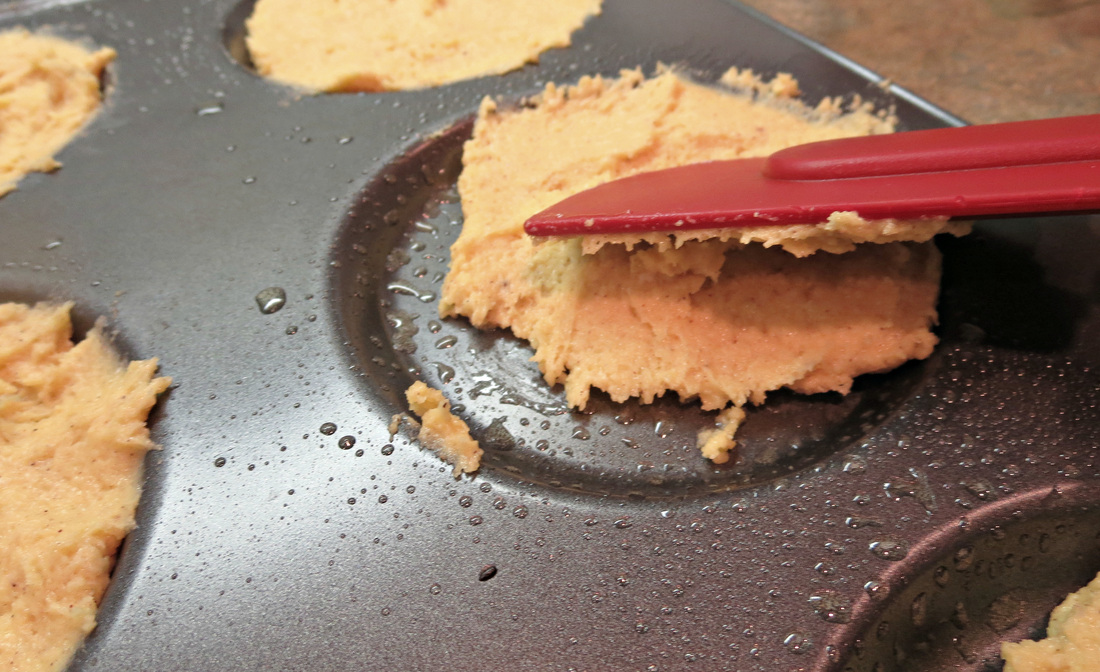
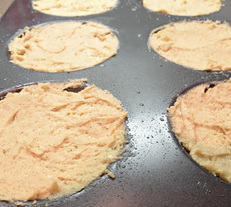
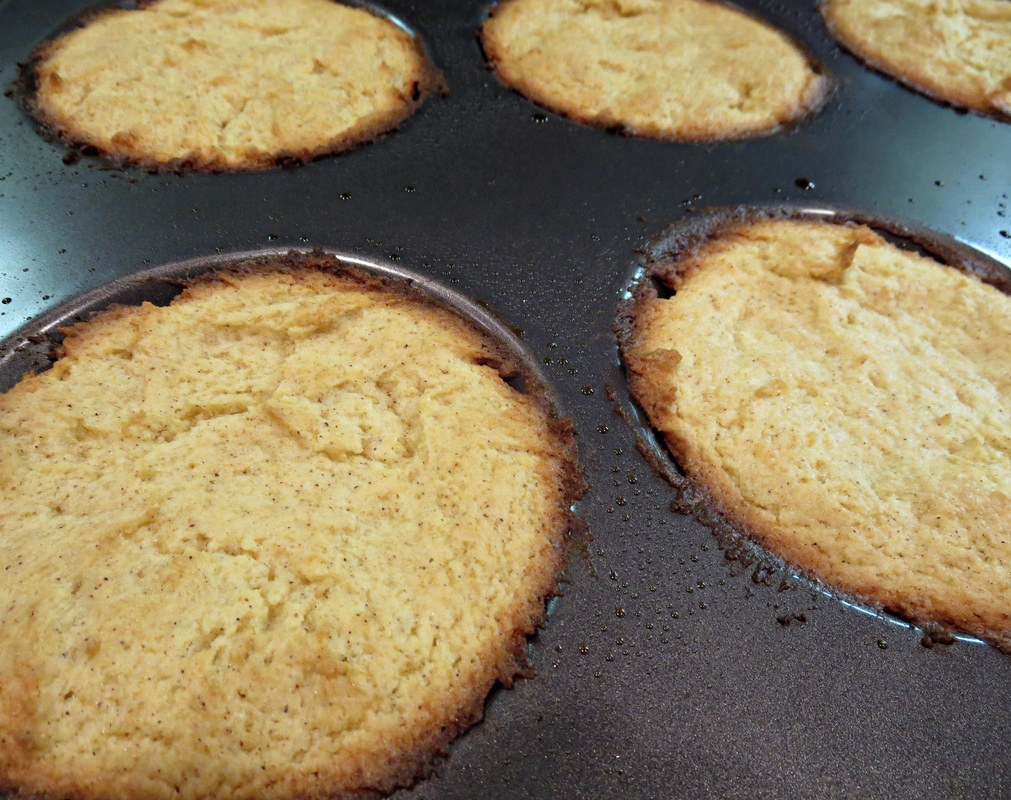
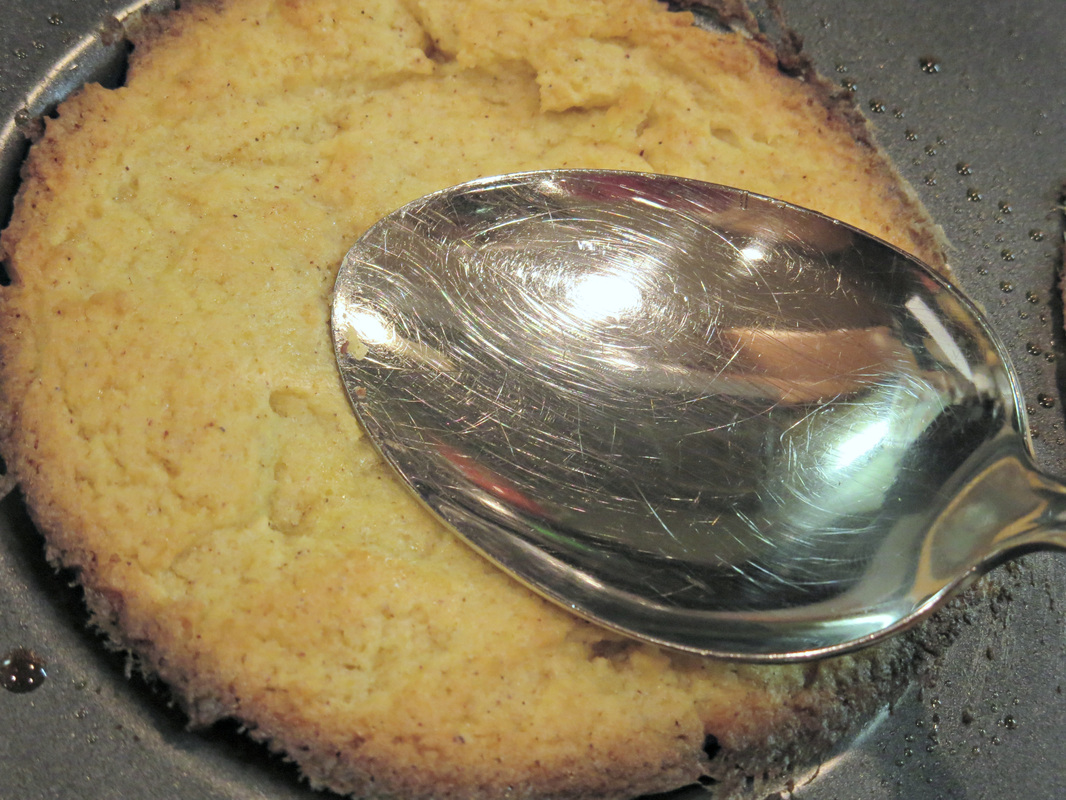
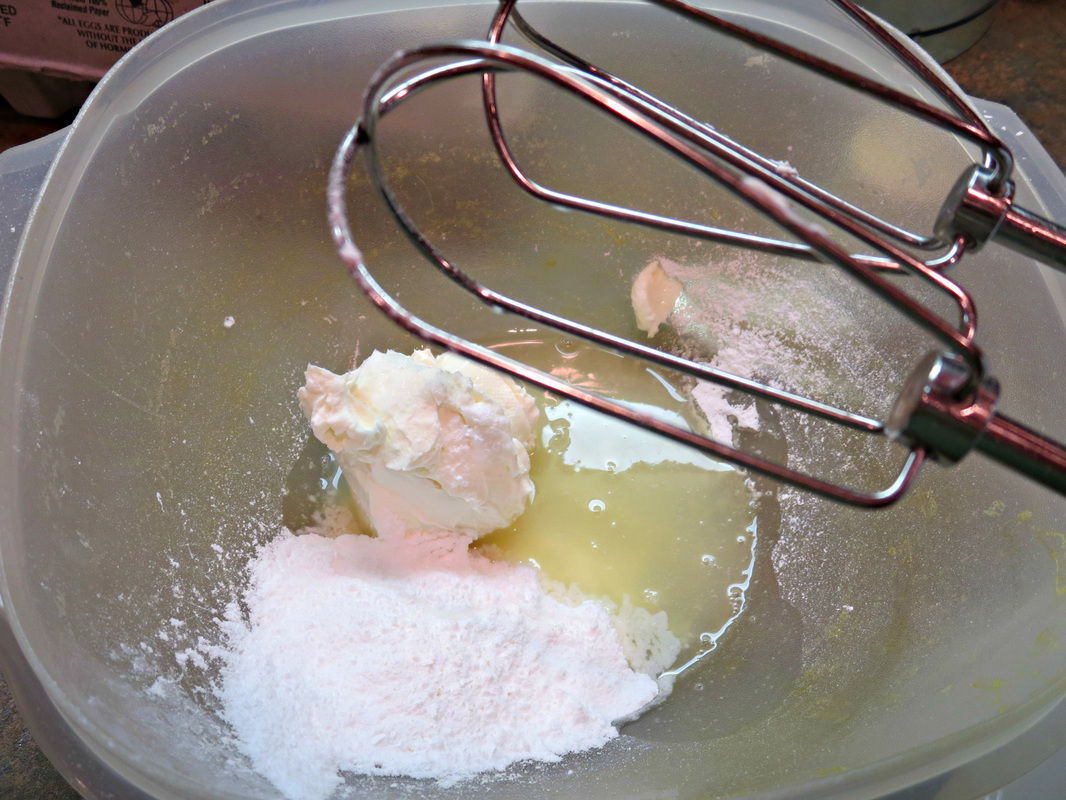
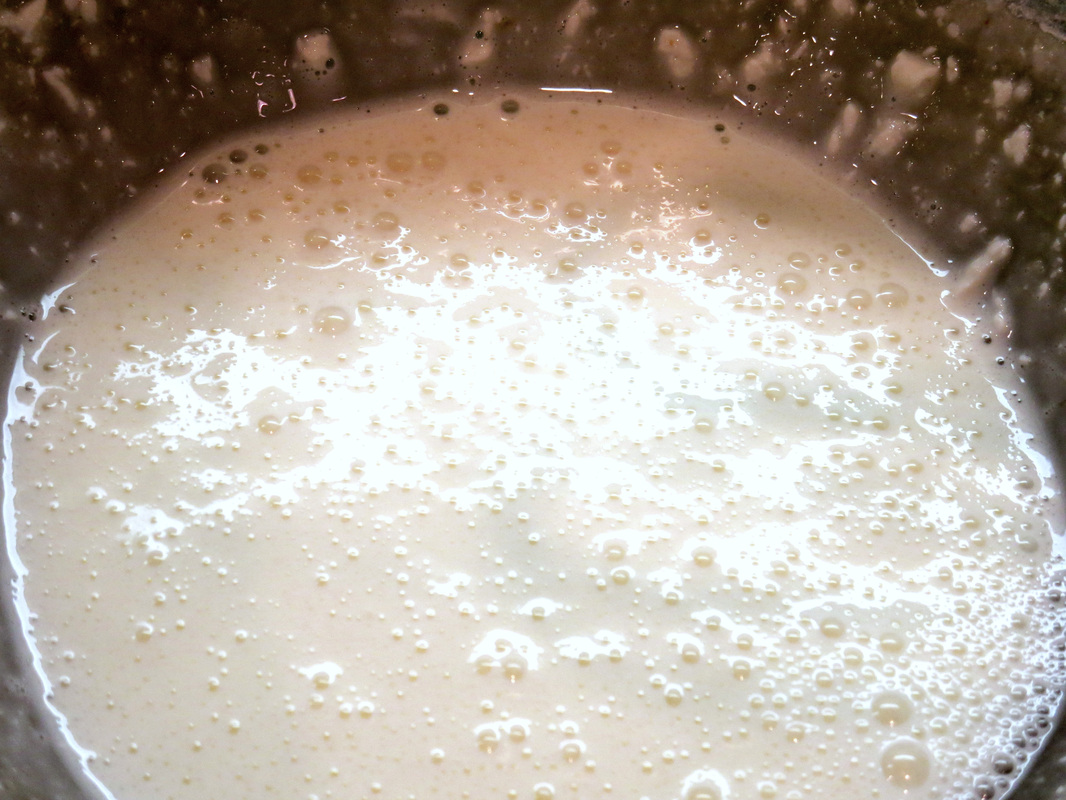
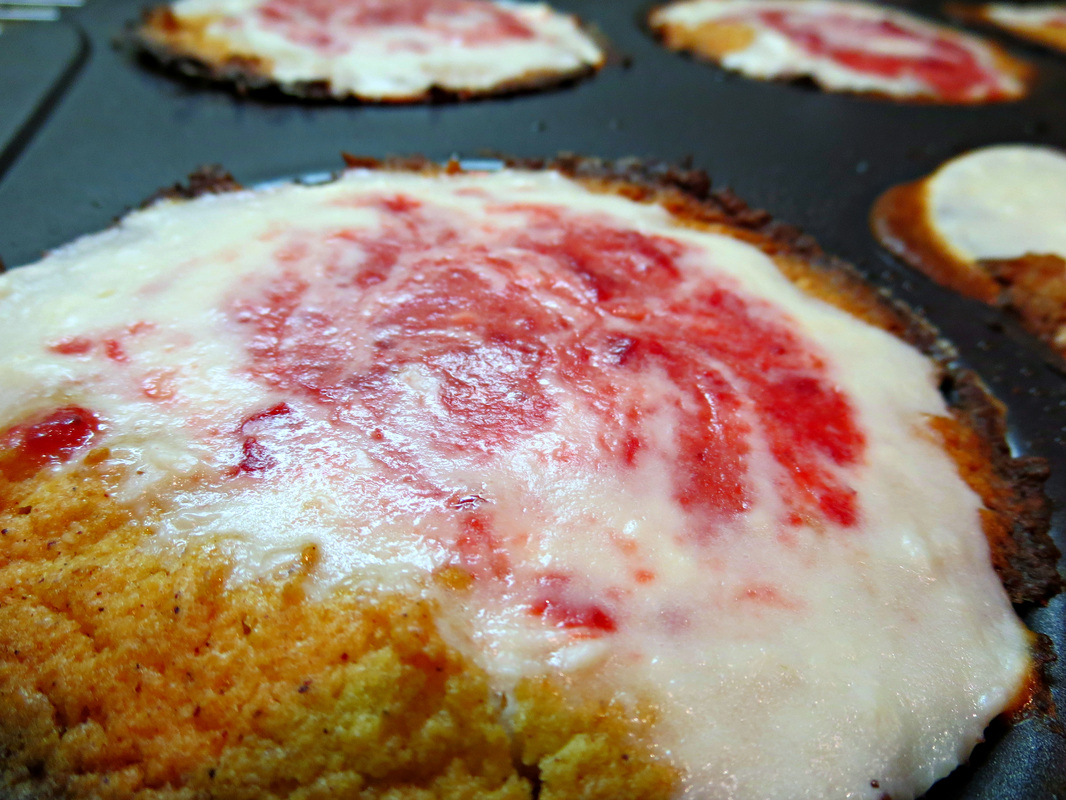
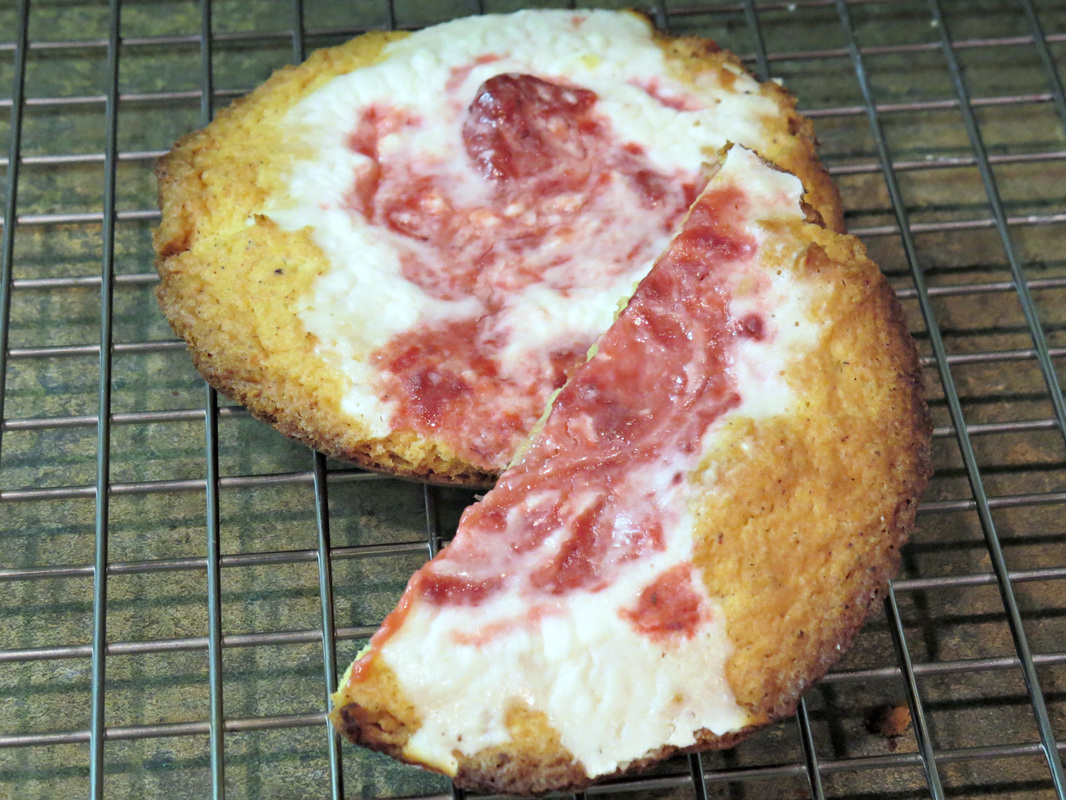
Set oven rack to middle level. Preheat oven to 375° F (190° C). Grease 10 wells of a whoopie pie pan (or halve this recipe for 5 muffin-top or whoopie pie wells). You may also use tartlet pans or mini-pie pans. Place almond flour, coconut flour, salt, baking powder, xanthan gum, 3 Tbsp. Swerve or erythritol/Truvia, cinnamon, and nutmeg into a food processor. Pulse 10-12 times until blended. (Or, combine well in large bowl, making sure any almond flour lumps have disappeared.) Cut cold butter into 1/4" (1 cm) cubes and sprinkle onto flour mixture in food processor. Pulse 10-20 times until mixture resembles bread crumbs. (Or, use a pastry blender to cut the cubed bits of butter into the flour mixture.) In a separate bowl, whip 1 whole egg and 1 egg white until light and fluffy, with either a wire whisk or an electric hand mixer. Add whipped eggs and vanilla extract to the flour mixture in the food processor. Combine until smooth and well blended. (Or, combine liquid ingredients and dry ingredients together and blend well.) Spoon about 1 oz. of the dough (1 very heaping tablespoon) into each greased well. Use either your fingers or a rubber spatula to flatten the dough into the bottom of the well. Bake dough for 5-7 minutes; remove pan from oven. With a greased metal spoon, gently but firmly press down into the middle of each round flattened baked dough to make an indentation. Be careful not to tear through the bottom of each dough round. (You will want to grease the back of the spoon with each round.) Place pan back into oven for another 5-10 minutes until the outsides of the tartlets are firm. Meanwhile, prepare the cream cheese topping in a separate bowl: stir together cream cheese, remaining egg white, vanilla or almond extract, and remaining 2-1/2 Tbsp. sweetener until smooth. Remove tartlet crusts from oven again and reduce oven temperature to 350° F (176° C). Place 1 Tbsp. of cream cheese mixture into each baked tartlet crust. Top the cream cheese mixture with about 1 tsp. of fruit preserves, either leaving it in the middle of each tartlet or using a toothpick to swirl preserves into the cream cheese mixture. Bake tartlets for another 10-12 minutes or until the cream cheese/preserves topping has set. Allow to cool for 15 minutes; remove tartlets from baking pan and cool completely on wire cooling rack or towel. So there you have it! A deliciously sweet pastry type of dessert or breakfast, with no sugar or flour. If you do decide to make this for breakfast, the baking times add up so that this wouldn't be the best recipe to make during a rushed morning. I actually made mine the night before so we could enjoy them for a quick breakfast. Here's the printable version: Click on the image below to download and print your own binder-ready recipe! Have you ever tried to make your own no-sugar, low-carb, gluten-free breakfast pastry? If so, did it have fruit filling - and what flavor or variety did you use? What's your biggest struggle with providing low-carb breakfasts in your home? In the interest of full disclosure, some of the links in my posts are “affiliate links.” This means if you click on the link and purchase the item, I receive an affiliate commission...without it costing you a penny more. I only recommend products I use personally. Your purchases through these links help support Joy In Our Journey. I humbly thank you for your support!
8 Comments
2/17/2014 05:53:37 pm
This looks super yummy! I Pinned it to my Dessert board so I can make it! Love the pictures too :-)
Reply
Misty
2/18/2014 08:55:15 am
How many do you suppose is a meal or dessert? This is so S yummy looking
Reply
Misty
2/19/2014 07:48:26 pm
Sounds great I was thinking 2 sounded about right can't wait to buy my pan!!
Iris Stinson
3/6/2014 08:33:57 pm
Hi, I was wondering if you refrigerated coconut oil could you substitute that for the butter?
Reply
Hi, Iris, thanks for your question - it's a great one. If your coconut oil is chilled so you can cut it into cubes, I think this would work well. However, it may not have the same "pastry" taste or texture that you'd find by using chilled butter. If you give this a try, please come back and let us know how it tasted! :)
Reply
Leave a Reply. |
Hi! I'm Julieanne!
|

