|
Learn how to make inexpensive natural or regular liquid soap for your family!
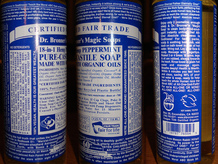
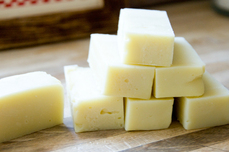
Our skin has liked this soap, too, and it was quick and easy to make the bars of soap, enough to last a year - at least. And at around 75 cents per bar, this is a price that really appeals to me! But we were still wanting to have some liquid soap that was healthy for our skin. Regular liquid soaps found in the grocery stores and shopping "marts" haven't gone through the traditional saponification process, so most commercial liquid soap is actually in the "detergent" category, not the soap category. Strange, isn't it? You think you're using soap for your hands and in the shower, but you're actually using detergent. No wonder our skin reacts in such a negative way to so much of the soap on the market these days! I spent a couple of days this summer researching how to make liquid castile soap for myself. I learned a lot, but still hadn't given it a try. Finally, because I got brave - um - really, because I was literally completely out of liquid soap one day, I decided I'd better use what I'd learned to make my own liquid soap. Guess what? I learned that you can turn BAR SOAP into liquid soap!
Here are some important points to keep in mind when making liquid soap from bars of soap: 1. If your skin needs a more natural soap, you'll want to look for a higher quality soap - not detergent. It will need to have gone through the saponification process. Detergent soaps are made from synthetic chemicals produced in a lab, usually from petroleum products. Non-detergent soaps are made from naturally-occurring ingredients such as water, animal fats, vegetable fats, lye, and sometimes, glycerin, although normally glycerin is a natural by-product of bar soap if it has been made and cooled correctly. Just look at the labels, and you'll see what not to buy if you have sensitive skin. I've heard that Kirk’s Castile Soap works well with these directions, but I haven't tried it yet. Here's a list of ingredients found in Lever 2000 bar soap:
You'll want to avoid soaps like Irish Spring, Palmolive, Dove, Ivory, etc. if you need something that will be a lot easier on your skin. If you prefer to use Dove soap, you will need an entirely different recipe, found here: http://www.savvyhousekeeping.com/turn-a-bar-of-dove-soap-into-liquid-hand-soap/ 2. If your skin isn't sensitive, and you just want to save money on purchasing liquid soap, you have more freedom to use a variety of soaps on the market. Avoid Dial or any soap that has a "softer" feel to it. Choose soaps that have a harder feel to them. Look at the list of ingredients on the label and don't purchase any soap that contains citric acid. 3. The price of the bar soap doesn't determine its quality. Yardley of London soaps ($1 at Dollar Tree and inexpensive at other stores) will work really well for this tutorial, if your skin can handle that type of soap. But you can also use homemade soaps that are more natural. 4. Don't expect this liquid soap to behave exactly like liquid soap from the stores. If you do, you will probably be disappointed. If you are willing to be flexible, you should be pretty happy with this soap. It may not lather up in the same way that commercial liquid soap does, where chemicals have often been added to make the soap extra "bubbly". Ingredients:
Tools You'll Need:
Let's make homemade liquid soap! First, grate up one bar of soap. There are several methods of doing this: Method #1: Microwave
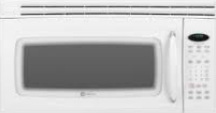
They said that in a few minutes, the bar of soap would start to foam up as the air inside the bar of soap expanded. I was supposed to take the soap out of the microwave when the foaming stopped. As the soap cooled, the foam was supposed to crumble into small particles, or could be placed into a food processor to get the crumbled pieces into finer bits. Take my word for it. If you leave the soap in the microwave for a few minutes, you'll not only be buying yourself a new microwave, but you may end up buying yourself a new house. And you won't have to worry about having friends, in-laws, or out-laws coming over to visit for the next twenty years. The smell of burning soap is horrendous! So, for the second time around, I reduced the power level to 60% and set it for two minutes. After about 30 seconds, I could tell that it was going to start burning again if I didn't remove it from the microwave soon. Like in about 1.3 nanoseconds. I don't recommend this method. Your house will stink; your family will not thank you. You will probably end up wasting at least one bar of soap. And maybe at least one microwave. No thanks. Method #2: Cheese grater
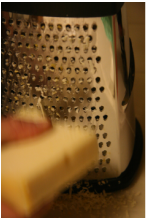
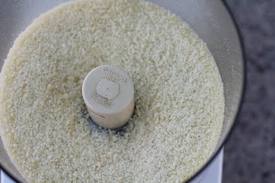
Method #3: Food Processor
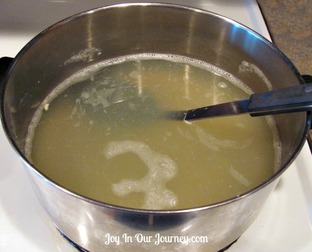
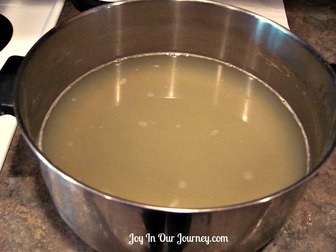
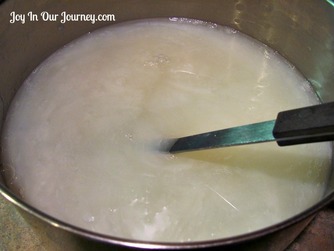
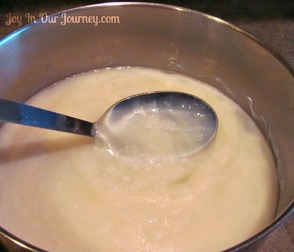
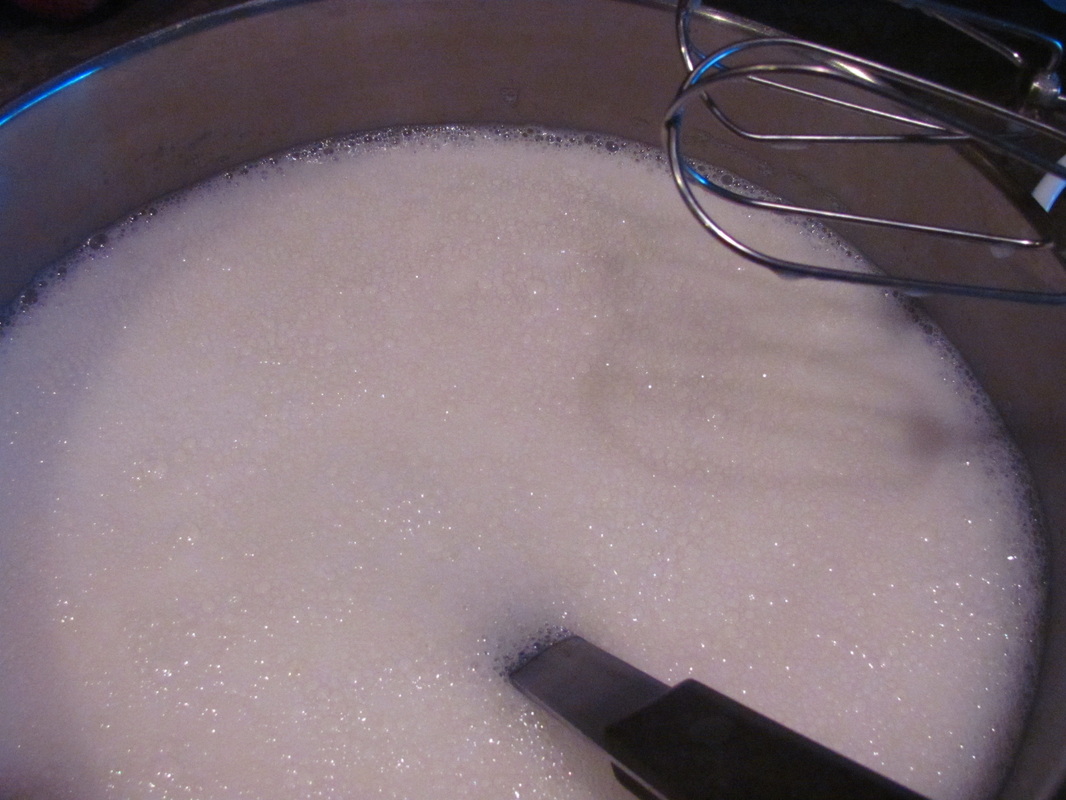
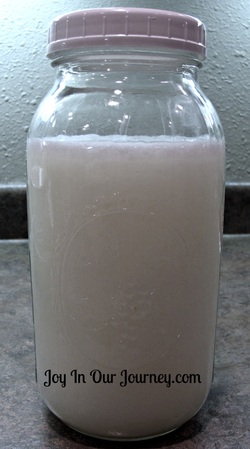
After you have grated up one bar of soap, measure 1 cup of soap flakes. Place any extra soap flakes into a container or zip bag for future use. (Can you see yourself frugally saving those small soap scraps or those extra hotel soaps or gifts of bar soap until you have enough to make 1 cup of powdered soap?) In a large pot, combine in this exact order: 1 cup soap flakes 10 cups of cool water 1 Tbsp. glycerin Over medium-low to medium heat (it will depend on your stove), stir the soap mixture until the soap flakes have completely dissolved. This will probably take about 10-15 minutes. Do not let the soap boil! I have a very inexpensive electric range, so I needed to turn the heat up to medium in order to get the soap flakes to melt completely. Your range may heat liquids faster, so watch closely. When the soap flakes have completely dissolved into the water/glycerin mixture, you'll notice that the liquid soap is the consistency of water. At this point, DO NOT POUR THE LIQUID SOAP INTO YOUR SOAP CONTAINERS! The soap isn't quite ready to be used. If you pour it into your containers right away, and it becomes very thick, you might not be able to get the thickened soap out of the containers so you can thin it down. Let the soap cool completely. If the cooled liquid soap has the consistency of water, let it sit out for 12-24 hours. It should thicken up nicely, and it may also have a pearl sheen to it, depending on the type of soap you chose to use. Next time I make this soap, I'm going to let it sit for about 12 hours, to see if it makes a difference. (It's okay to stir it once in a while, to check the consistency of it.) Here's the thing. I don't normally talk like this, but this is the only way I can think of for you to understand the consistency of the soap after 24-48 hours: snotty. Snot-like. Like snot. Blech! And no, I didn't let my children talk like this when they were younger. But that's because they're girls. And I'm female. If they had been boys, and my husband was in charge of the boys for the day, well, who knows? Heh-heh. But that's really the only way to explain the viscosity of the liquid soap. It's just plain odd. Now, here's the part where you'll need to be flexible. If your liquid soap seems too thin, you can follow some or all of the suggestions found below. If your liquid soap seems too thick, you can thin it with water, or you can dilute it greatly and use it in a foaming soap dispenser. If your cooled liquid soap seems too thin: Option #1: Stir 3 tablespoons of table salt into 8 oz. (1 cup) hot water until dissolved. Whisk a small amount - a tablespoon at a time - of the salt solution into the cooled runny soap mixture until the soap reaches the thickness you prefer. You might find that you need more of the salt solution to help thicken up the soap. Let the soap sit for another 8-12 hours, if needed. Option #2: If your liquid soap is still too runny, use your hand blender or hand mixer to blend the soap. You'll be surprised at how quickly it will become thick and creamy. Option #3: There's always going to be an odd one in each bunch. If your soap is still too thin, bring the mixture to a boil (no lid needed). Skim off any bubbles or suds as it boils. Allow the soap to boil for a minute or two; then, remove the pot of liquid soap from the heat and set it aside to settle and cool. This may take a few hours. Option #4: Add some xanthan gum to the liquid soap. I haven't tried this, so I can't give you any advice on how to use it. In my case, I let the soap sit for 48 hours (I used homemade goat milk, olive oil, and coconut oil bar soap), and it had thickened up nicely without being overly thick. However, to reduce the snot-like consistency of the soap, I went ahead and used my hand mixer to try to blend it a bit better. I think it would have been better if I had only let it sit for 12-24 hours at the most. You may find that you just need to experiment with it a little bit.
Watch closely so the soap doesn't begin to form lots of bubbles on its surface. But if you accidentally mixed it too long with the hand mixer, like I did, and you now have bubbles soaring out your kitchen window, no worries. It will settle back down in about four hours. Ask me how I know.
After two weeks of using this homemade liquid soap, how do we feel about it?
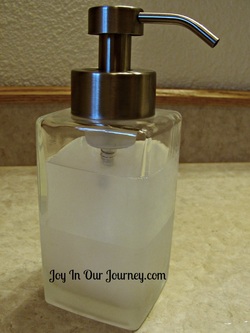
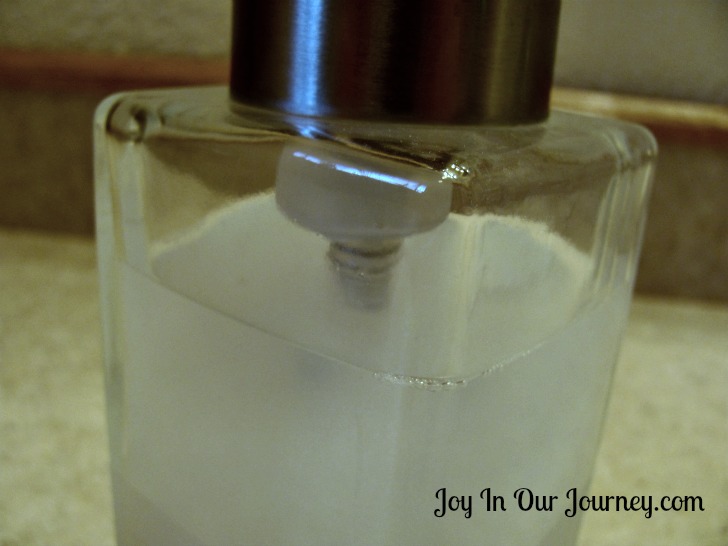
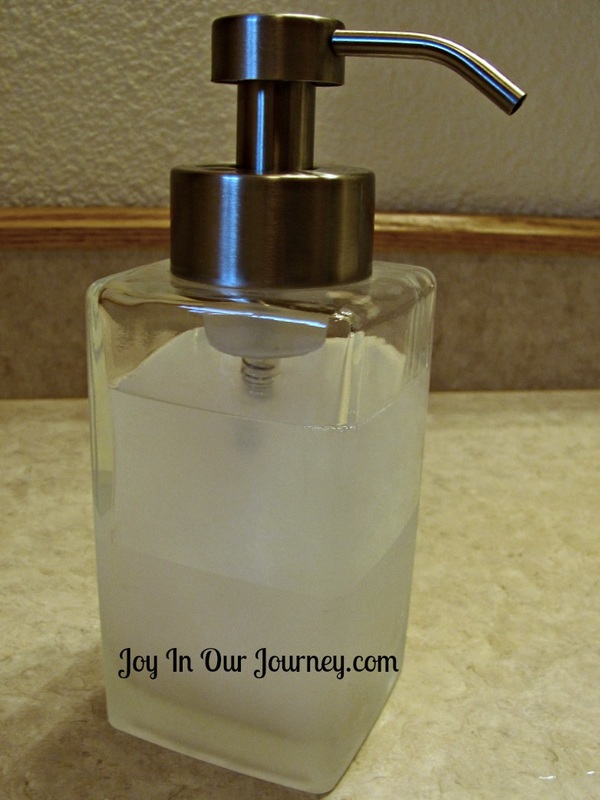
At this stage of the game, since I now have almost a gallon of liquid soap, I'm definitely not going to call it quits and assume that there's something wrong with the soap. It's just not working as well in a foaming soap dispenser. I'm going to check our local Goodwill store to see if I can find a gently used soap dispenser (non-foaming), or I'll purchase an inexpensive bottle of liquid hand soap and empty it out to try it with our new homemade soap. I'll let you know what I find out. Should this soap be a bit more inconvenient to use around the house, we're still going to use it until it's gone. I'd really enjoy trying to make a batch of this with Yardley of London's Lavender bar soap, to see how it interacts and works, but I haven't decided yet. I've heard online that Yardley of London soaps work really well, even though they are made from a long list of chemicals and possibly haven't gone through the full saponification process. It might not work so well for my own family's hands, but it might be a nice gift for someone else. If you decide to give this a try, I'd enjoy hearing how it went for you! Just leave a note in the comments section and share with us the type of bar soap you used and how it is working (or not working). Or, if you already make homemade liquid soap and have a different technique that works better for you, please let us know! The way this soap feels on our hands is different than the liquid hand soap we've used in the past. But I do believe it's going to work well enough for us that it will be worth spending 30 minutes of time every 6 months to make a new batch of homemade liquid soap! Copyright © 2012 www.JoyInOurJourney.com. All rights reserved.
36 Comments
Lori
10/6/2012 06:18:35 am
I didn't bring my own soap with me, two weeks ago, today, and used an unknown in a public restroom and my hands have been itching ever since! Ach! Thank you, Julieanne, you are such a generous giver of information!
Reply
I don't seem to be as sensitive as some people in our family, but my skin does get dry with other types of soap. I try to stick with the castile soap or goat milk soap, etc. as much as possible, but thankfully if I go out somewhere else that doesn't have it, it doesn't mess up my hands too badly.
Reply
Cyndi
10/6/2012 06:19:41 am
Thank-you, this was just the topic on a homesteading forum I belong to.
Reply
Cyndi
10/6/2012 06:20:27 am
When I wake up this morning, yikes, I was planning on going to the forum to see if they had posted the instructions on how to make soap. Some of them even make their own make up. The whole topic was on money saving tips and I realized I am not good at saving money.
Reply
Brandi
5/11/2013 12:38:37 am
I followed the recipe and have let it set for more than 12hrs and it's still runny like water. I also added the salt water to thicken it but no difference so far. I was hoping to give these as Mother's day gift but I'm not sure its going to happen this year. Hopefully letting it boil more to evaporate some of the water will help. Any other suggestions?
Reply
Brandi
5/16/2013 12:41:45 pm
I let it set for over 24hrs before I gave up. I tried the salt tip, reheating, mixer etc. The only thing I can think of, is the bar of soap was completely organic. It was soy based and only had four or five other ingredients. However **silver lining*** I plan on using the liquid as bubble bath. Robert, I don't know if Brandi saw your question. Just making a guess here...I personally don't think this would make great bubble bath, since it doesn't have the added chemicals that make soaps "extra bubbly". Our liquid hand soap as described here on this page is definitely not bubbly...or only just a tiny bit. It took some getting used to. But who knows? Maybe this would work for bubble bath. I haven't tried it that way, and my guess is that it wouldn't do so well for that.
brandi
2/1/2014 06:00:34 am
Unfortunately it was a complete bust. It didn't work for me as a soap or bubble bath. Maybe it was the soap I used but it was a process I am not interested in repeating. Brandi, I'm so sorry that you were disappointed about how your soap turned out. I'm 100% positive that because you used a soy-based soap, this is why it didn't convert well to a liquid soap. It doesn't sound like you're willing to try this again, and I understand. However, if you ever get in a position where you must have natural, healthy liquid soap at a lower price, I do hope you'll give this a try again with a soap made from olive oil, or goat's milk combined with olive oil or coconut oil or palm oils.
I didn't expect to read that it worked as bubble bath. This sequence has been repeated many times online because soap (actual soap soap) has been recommended for use as the foaming material in bubble bath. You CAN make a bath foamy if you use ENOUGH soap to overcome all the "hardness" in a whole bathtubful of water, which can be an awful lot, and indeed some people used to do that with soap powder or flakes. The result is a bath which actually gets you clean without additional soap, but which is very defatting to skin and much more irritating than a bath foamed with the soapless materials used in bubble baths. The latter aren't much impaired by water "hardness" and foam at concentrations much lower than would be necessary to get skin or hair clean.
Andin
9/30/2014 05:50:46 pm
I did it differently.
Reply
Interesting, Andin! Thank you for sharing your "recipe". I'm wondering what the measurement is for the oil? Tbsp? tsp? Cups? If I used this recipe, I'd use melted coconut oil or olive oil, not what most Americans consider "cooking oil" (canola or vegetable oil). I'd also probably leave out the sugar because it can absorb into the skin, and I'm trying to eliminate sugar in my life. :) It looks interesting to give it a try, though! :)
Reply
Tammy
2/19/2015 02:37:24 pm
if you use milk powder can you use goats milk powder and do you have to refrigerate it?
Reply
andin
10/1/2014 08:36:50 am
Hi julieanne, the.measurement is cup. I used palm oil for it's the common oil used in my country. But I've used coconut, rice bran, and almond oil before, and they're good too. I have to remind you, if you use milk, it has to be refrigerated.
Reply
Annie
12/30/2014 07:54:56 am
I make my foaming hand soap using Castile liquid baby mild soap and even some essential oils and it works great in the foaming pumps I've used for me and a different container and foaming pumps for family as gifts. In both containers, they foam comes out creamier and softer than any of the store bought versions. I'm wondering if it is something to do with using regular soap and the extra stuff that goes into the bars.
Reply
Amber
2/3/2015 12:21:41 am
I want to thank you for your post, it was SO helpful to me!
Reply
By "dishwashER soap", did you mean for a machine? I wouldn't advise even trying that. Dishwashing machines work nothing like the way you'd wash dishes by hand. They squirt hard blasts of water thru a lot of empty space, and any tendency of a detergent to suds up in it will be brought out, to the detriment of...everything. Machine dishwashing detergents even commonly incorporate anti-foams to counteract the effect of soaps which may be created by the alkali in the detergents saponifying fats on the items being washed.
Reply
Tammy
2/19/2015 02:41:27 pm
Im looking for an easy recipe for goats milk shampoo that doesn't have to be refridgerated that's really simple to make haven't had any luck so far but can you use melt and pour goats milk soap base to make this is it possible? also I would like to use essential oil and sweet almond oil any ideas? Thank you
Reply
Because you posted this in a thread on liquid soap, I assume you're interested in a liquid product, but the simplest way otherwise to do what you want would be to make a solid. There are a lot of people making solid goat milk soaps, and there are also some other surfactants which can be formulated into solids if you don't want to limit your formula to soap.
Reply
Kerrie
6/2/2015 04:40:27 am
Can powdered goat milk be added and not refridgerated?
Debbie
7/27/2015 03:59:20 am
I grated the soap & mixed it in with the hot water. We are now closing in intensity or so hours & I see it pedaling in color. Problem is; I just realized I forgot the glycerine. Also I used one 5oz bar of Burts Bees soap to 2 quarts of water. What do you suggest I do at this point. It is a bit frothy.
Reply
ginger omg yoir a genius. i love my liquid soap ther than it was too thin. i read this article. who would think salt would make that big a difference. thank you
9/29/2015 01:40:40 pm
Reply
linda
10/26/2015 05:50:02 pm
your info on thickening up thin liquid soaps is really helpful. i'm making liquid dish soap with kirk's castile soap and have found a very small amount of salt (~1 1/2 t.) to thicken it right up--actually i got soap pudding--but am wondering if the salt would pit my silverware. i tried washing soda to thicken the dish soap but it doesn't seem to be working. i just have inexpensive silverware from Target but it is nice enough that i don't want to ruin it. do you have any idea? i know the package said not to use lemon dish soap on them. i have to check if they are stainless steel or silverplate or what. thanks!
Reply
Asif
8/8/2016 11:22:26 am
I did this everything went perfect.i transfer the liquid soap to a dispenser bottle and the rest i kept it at a 1.5L bottle.After three weeks of using the soap,the soap turned watery like when i keep pumping the dispenser i could not lather the soap at all,it was just all water then when I check the 1.5L bottle the soap seems fine can lather well and soapy.why is it after 3 weeks,the soap in my dispenser is very watery and in my 1.5L bottle is like a natural liquid soap??
Reply
Anita
11/3/2019 03:27:52 pm
I came across this recipe while trying to figure out how to thin my purchased liquid soap--Equate brand from Walmart. Long story short, I added two drops of green soap dye to nearly a quart of regular liquid soap. It not only thickened the soap, it changed the properties of it. I'm not a chemist, but I think I can describe it by saying I think I could hold a clump of it in my hand and probably juggle it. Even after trying to thin it with water, it still has that weird property of holding itself together. When I turn the container over, the soap takes several minutes to level itself. I put it in a regular built-in soap dispenser in my kitchen, and it won't come out when I pump (most of the time). I think I'll have to throw it out, but I don't know how to get it out of the full built-in dispenser. Is there another way to thin it? I'm thinking of experimenting with household alcohol, but that's just an uneducated guess. I'm hoping one of the chemists can help answer my question.
Reply
Leave a Reply. |
Hi! I'm Julieanne!
|


