
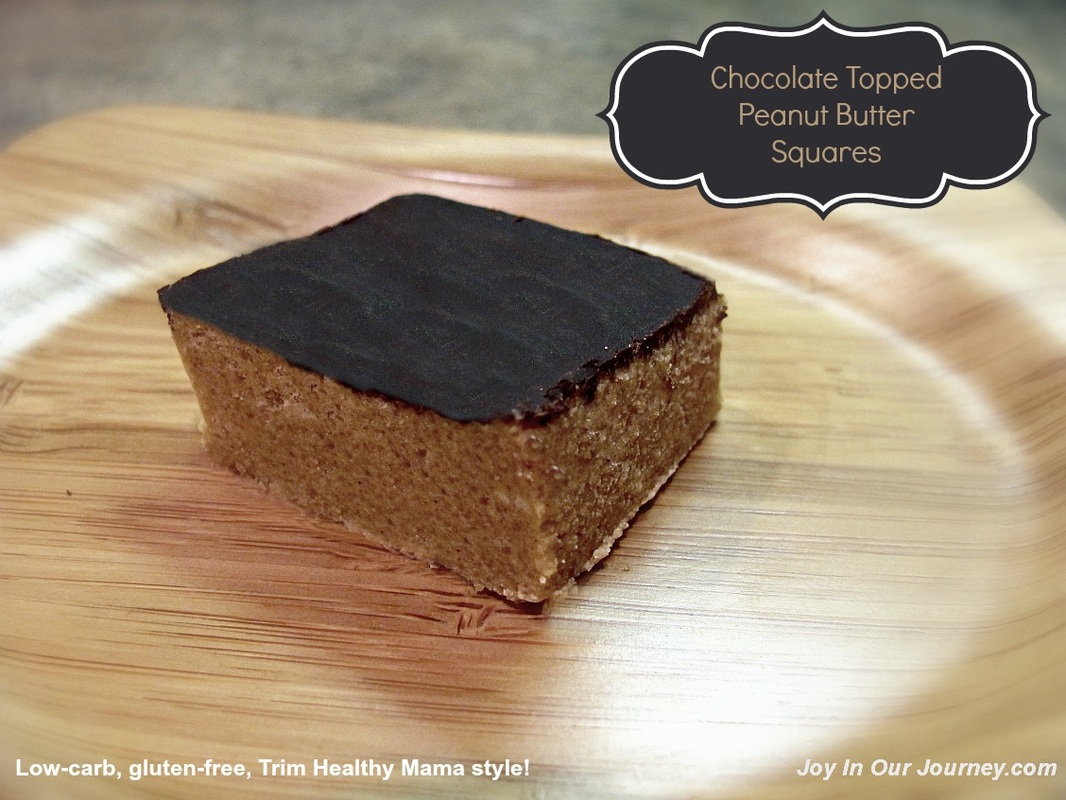
 This page may contain affiliate links. I love-love-love peanut butter and chocolate together! Here's my variation of a recipe loosely based on the peanut butter cup squares recipe found atSugar Free Low Carb Recipes.com. My family enjoys these so much, knowing they are a high protein dessert or snack that contains no sugar! Low Carb Chocolate Topped Peanut Butter Squares
Lightly spray/grease the bottom of a 9 x 13" baking pan. Line it with parchment paper or waxed paper. If you enjoy the crunchy texture of stiff cookie doughs with brown sugar in them, then you will enjoy making these with the erythritol and xylitol as is. If, however, you would like a very smooth, creamy peanut butter fudge consistency, then powder the erythritol and xylitol in a clean coffee grinder before adding them to the dough. In a large bowl, combine melted butter, unsweetened vanilla protein powder, erythritol, xylitol, stevia extract powder, sugar-free peanut butter, and peanut flour. Mix thoroughly; add additional vanilla whey protein powder or peanut flour, if desired, until dough is a slightly thicker consistency (doesn't need to be a stiff dough, however). Sweeten with additional stevia pure extract powder, if desired. Press peanut butter dough evenly into the bottom of the prepared baking pan. Melt unsweetened or 80% dark chocolate over low heat in small saucepot on stovetop, or using the "melt chocolate" feature on your microwave. With a flexible spatula, quickly spread melted chocolate over entire top surface of peanut butter dough. Refrigerate or freeze peanut butter squares. Bring to room temperature to score and cut into squares. Keep refrigerated or frozen. Try to keep these a secret from your family, so you can stash them away for yourself! Oops...I didn't actually write that, did I? Feel free to take a look at my Trim Healthy VISUAL SHOPPING LIST to get a better idea of some of the quicker food options available in your stores!
 In the interest of full disclosure, some of the links in this post are “affiliate links.” This means if you click on the link and purchase the item, I receive an affiliate commission. I only recommend products I use personally. Your purchases through these links help support Joy In Our Journey. I humbly thank you for your support.
1 Comment
 This blog post contains affiliate links. I've been telling my sister for months now that I was going to share this little DIY tutorial and printables with you (and her!) about how to make your own homemade natural anti-bacterial spray. Every time I make another batch for me to use around the house, I remember: "Oh, yeah. I need to write that up to share with everyone!" And then I forget. Because I'm too busy using the cleaner around the house to actually write about how to use it around the house. Oh, bother. ☺ There are so many cleaning products available in the stores these days, and even natural, "green" cleaners are everywhere in our stores and online. Why on earth would I want to add ONE MORE THING to my "to do" list? If you haven't noticed, those natural cleaners aren't getting any cheaper these days. In fact, some of them are downright expensive. That's a shame, because this Simply Homemade DIY Natural Antibacterial Cleaning Spray - that takes literally just a few minutes to make - is dirt cheap. So much less than the regular cleaners in the stores. This cleaner is PH balanced, so it is safe to use on granite and marble, but you may want to test the spray in an inconspicuous area just in case you're worried that it might cause a color change. I don't have granite or marble countertops, so I haven't tried this for myself. I use this all over the house: sinks, counters, doorknobs, greasy spills on the stove, stains on walls, spot cleaning the linoleum floors, appliances, laundry baskets, inside the car, etc. This is my go-to all purpose cleaning spray now! However. . .
My #1 most favorite use for Simply Homemade Natural Anti-Bacterial Spray is this: Disinfecting my kitchen sink! 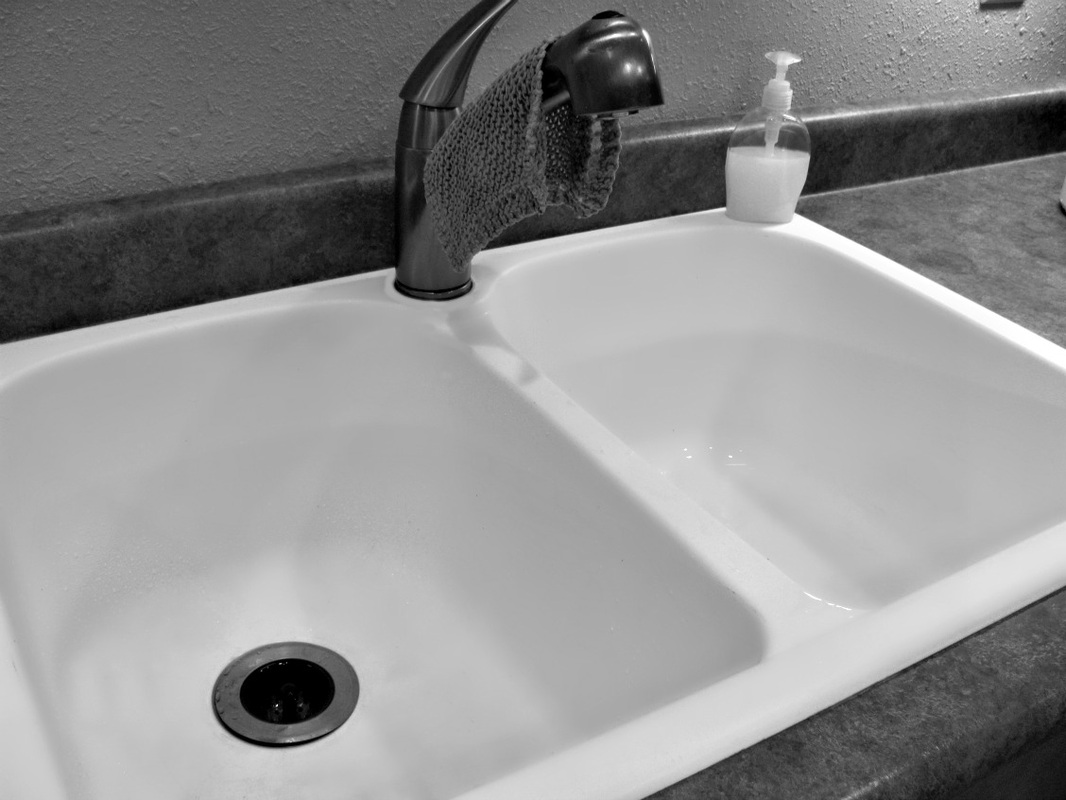 We use the kitchen all the time to prepare snacks and meals, especially since we educate our children at home, don't eat out very often, and rarely eat convenience foods. That means 21 homemade meals per week, plus 14 no-sugar snacks, and generally 5 to 7 no-sugar homemade desserts. That's a lotta cookin' and dishes! While I don't give our kitchen sink a good, 'ol-fashioned scrubbing with Bon Ami on a daily basis, I do use my Simply Homemade Natural Antibacterial Spray to disinfect the kitchen sink at least once a day: after washing our hands from cracking raw eggs; after rinsing off raw meat or washing our hands after handling raw meat; etc. In other words, if you show up at my house and observe the white kitchen sink looking oh-so-not-quite white, you can be fairly certain that it is still disinfected, no matter how scratched and nasty it looks! Just to make certain that I'm truly getting rid of any nasty bacteria that could give us food poisoning or botulism, I use a quick, two-step process.
|

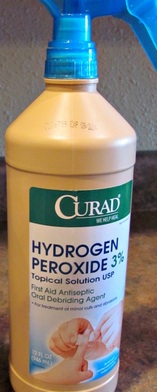
 | I bet you're wondering where I found a spray bottle of peroxide! Unscrew the spray nozzle from one of your empty, new spray bottles. Unscrew the cap from your hydrogen peroxide. Guess what? Your new spray nozzle fits the bottle of peroxide! Just tighten it onto the bottle of peroxide. Now you have a peroxide spray bottle that isn't clear or opaque - a requirement for keeping hydrogen peroxide at its full strength. |
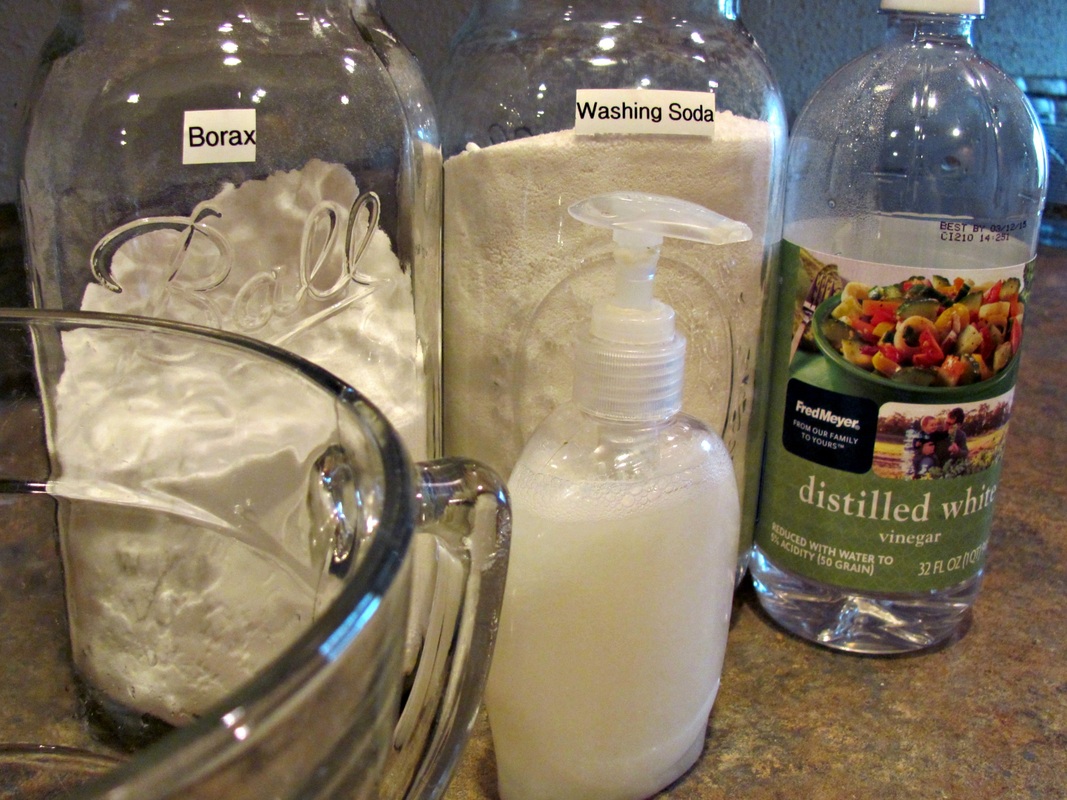
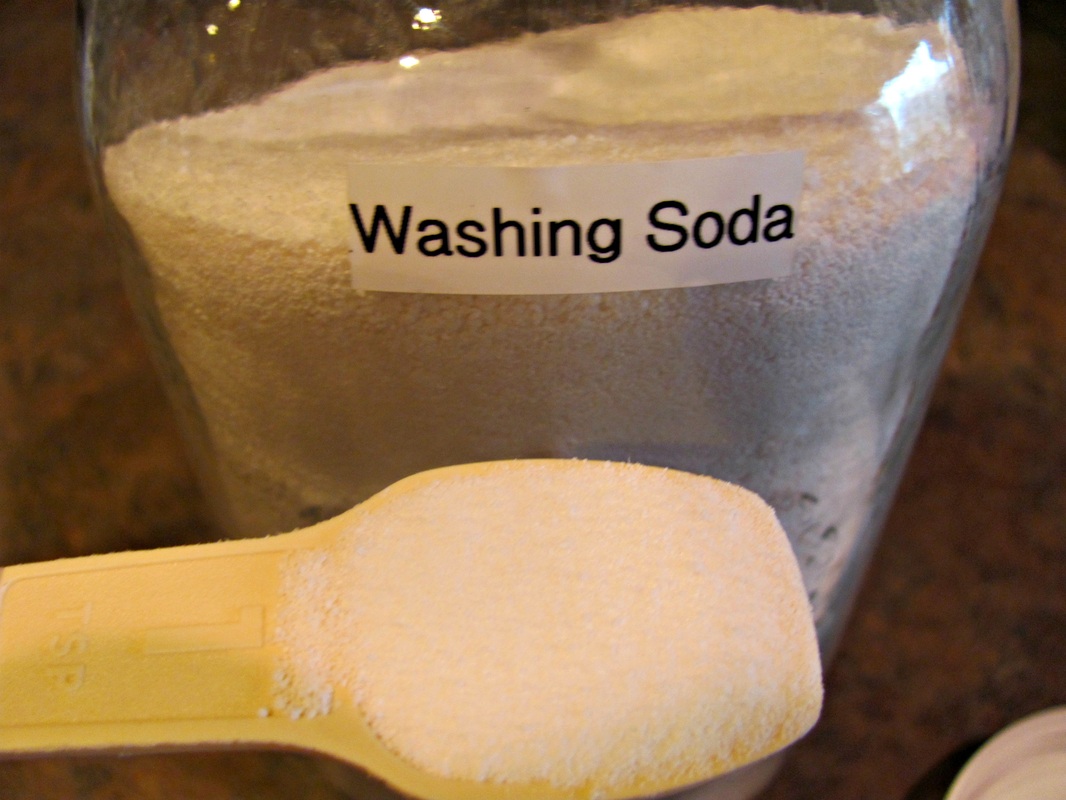 | In a large, heat-resistant bowl (not plastic), measure and add 1 tsp. of washing soda. I store my washing soda and Borax powder in 2-quart glass canning jars because I had a box of dishwashing detergent get wet once under my kitchen sink. Now I store boxed items in glass jars or plastic containers so if the area they are in gets slightly wet, the product isn't ruined. |
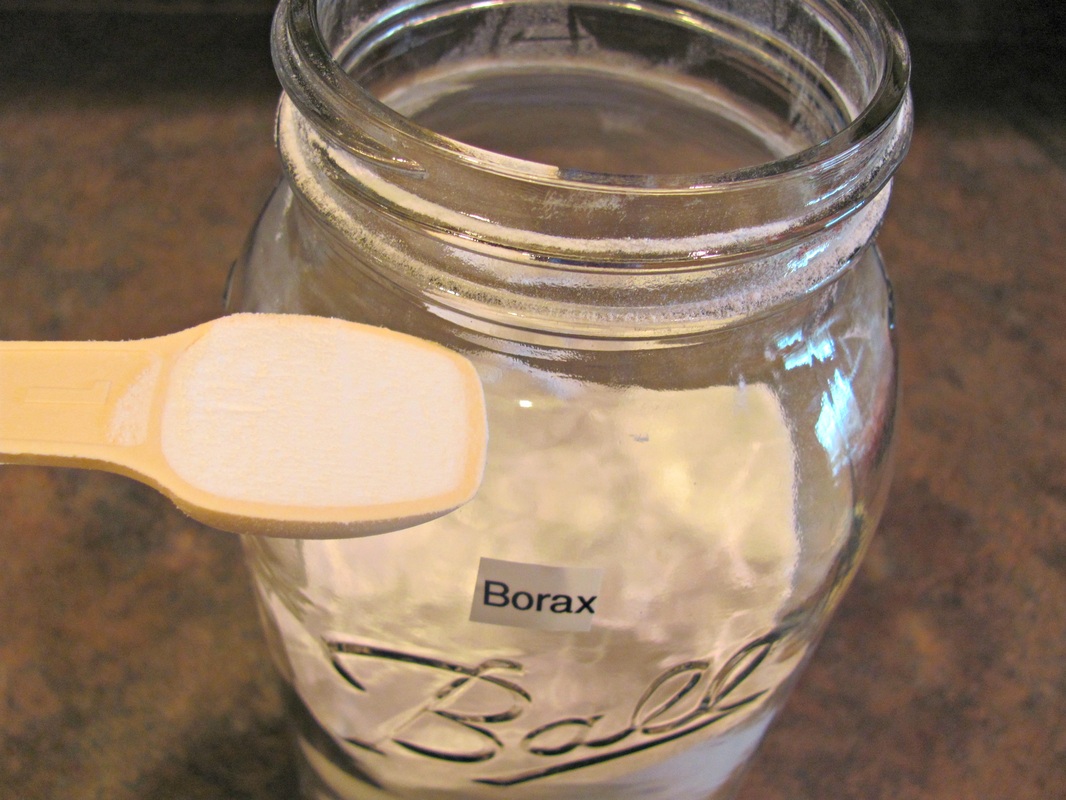 | Measure out 1 tsp. of Borax and add it to the washing soda in the bowl. Add 1/2 tsp. liquid soap (castile or other) to the powders. |
 | When those are combined in the bowl, are you ready for a fun science experiment? Call in your kiddos . . . they're going to enjoy watching this one! |
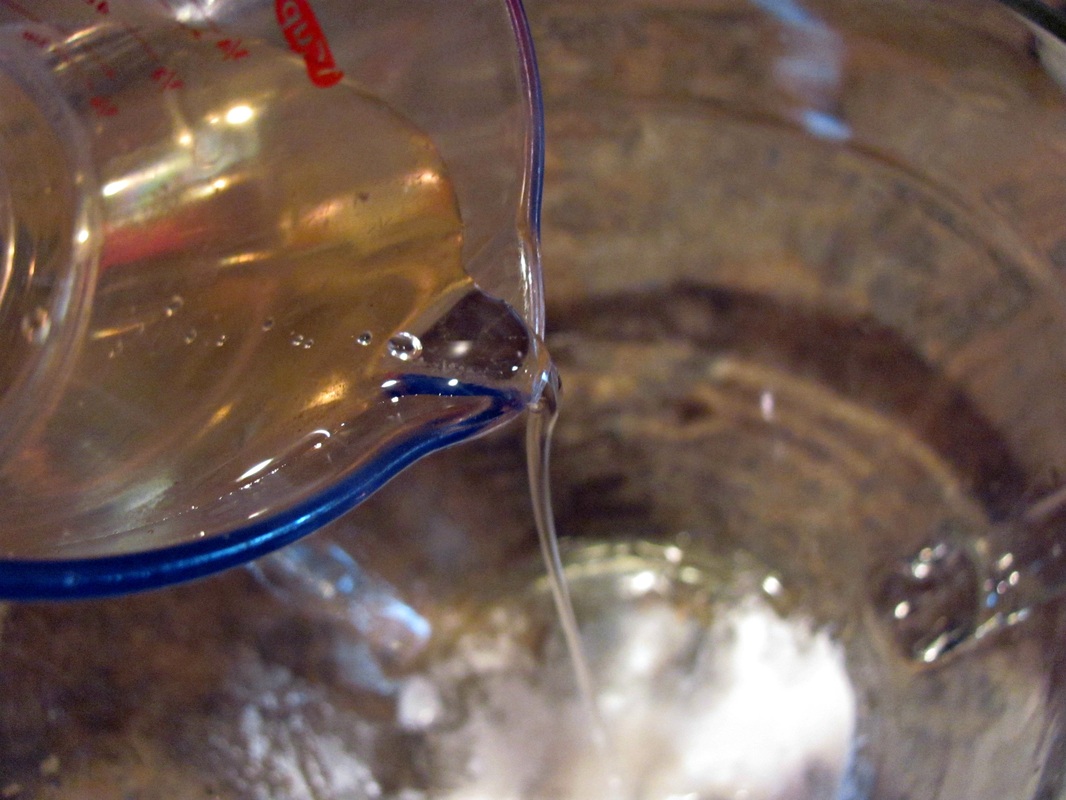 | Okay! Let the fun begin! Pour 1/2 cup of vinegar into the borax-washing soda-liquid soap mixture . . . . . . and LISTEN to it sizzle! :) |
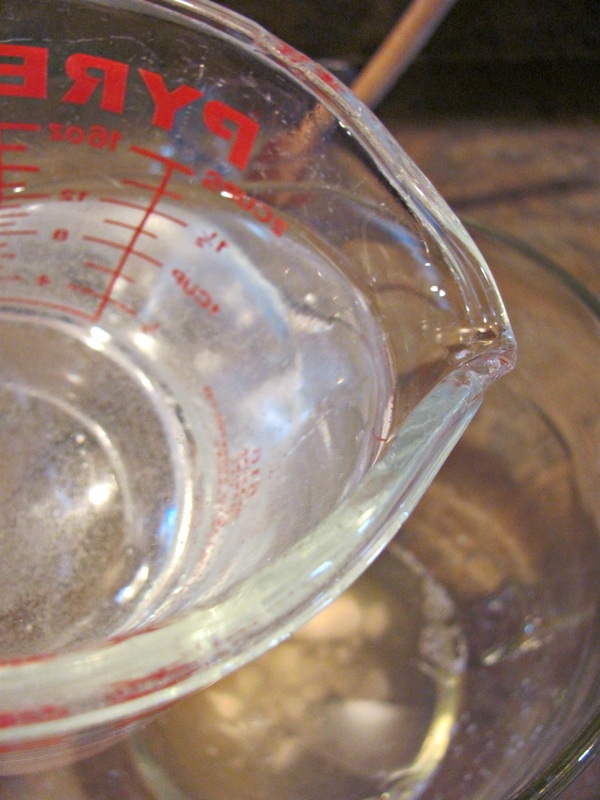 | When the sizzling stops, slowly pour two cups of very hot water into the heat-safe bowl. |
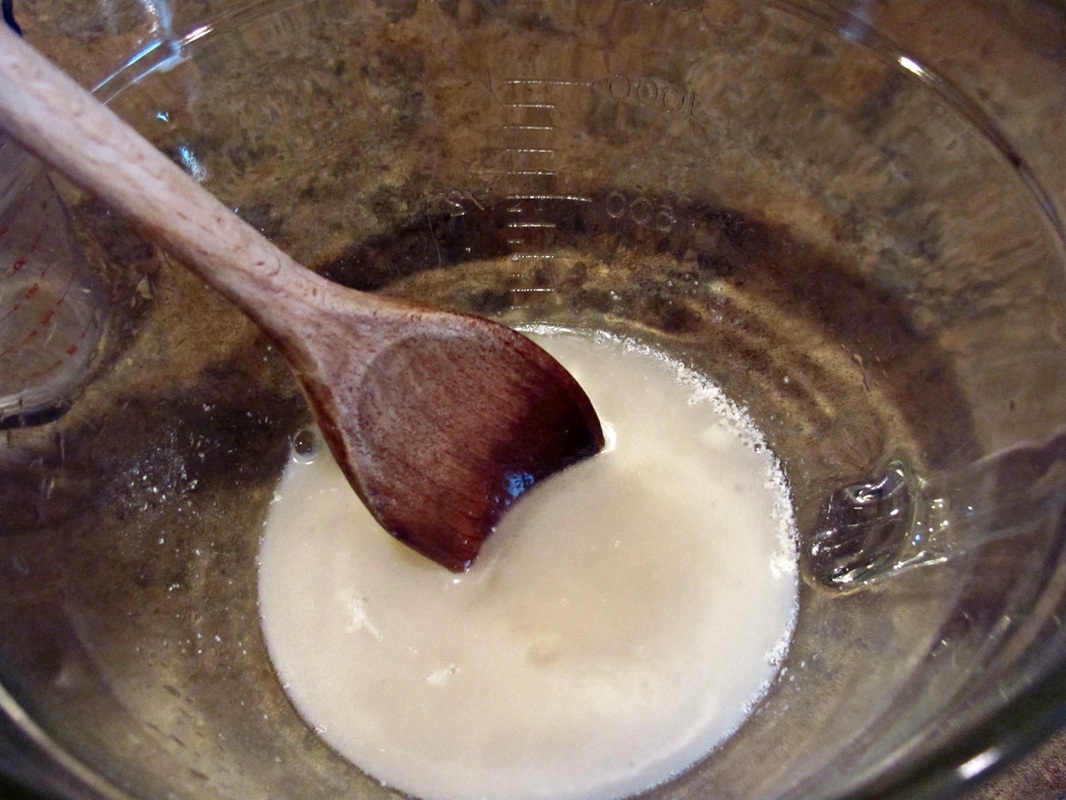 | Stir gently until powders have dissolved completely, a minute or so. |
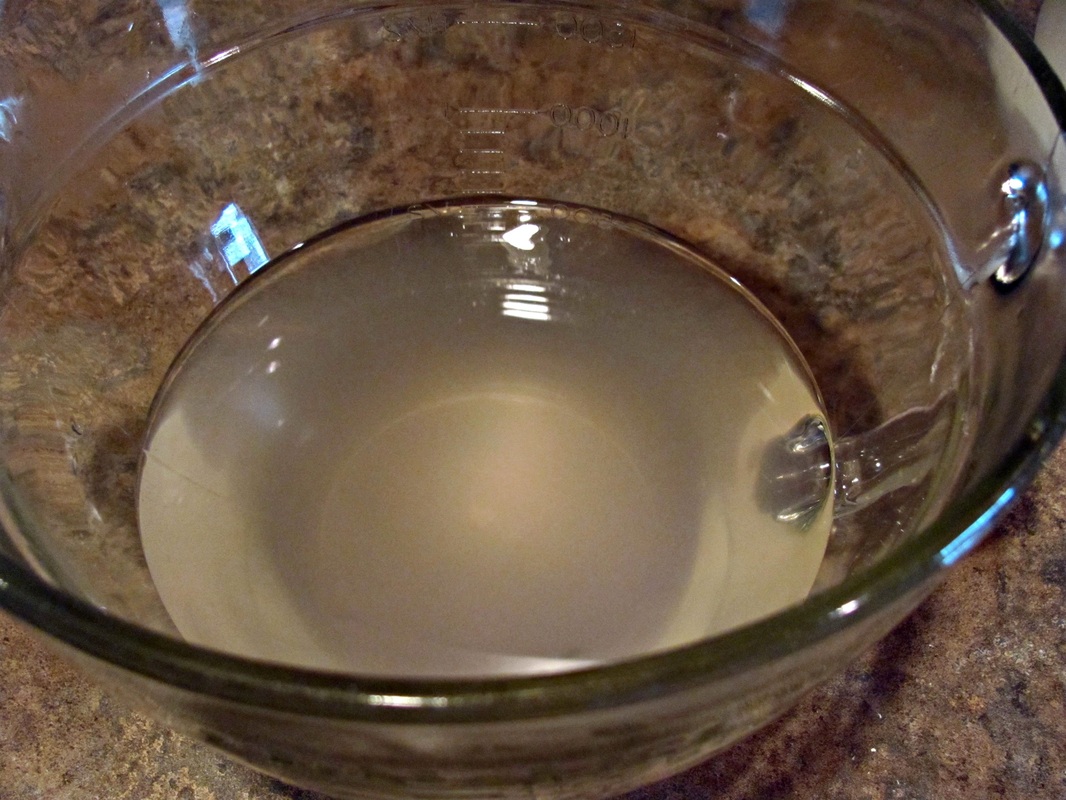 | Allow mixture to cool. |
 |
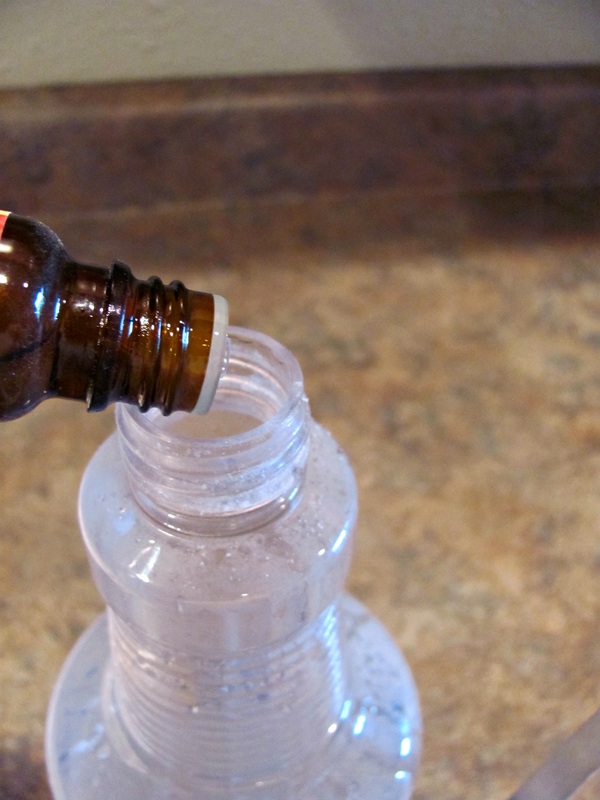 | Add 10-15 drops of your favorite essential oil or combination of several essential oils. |
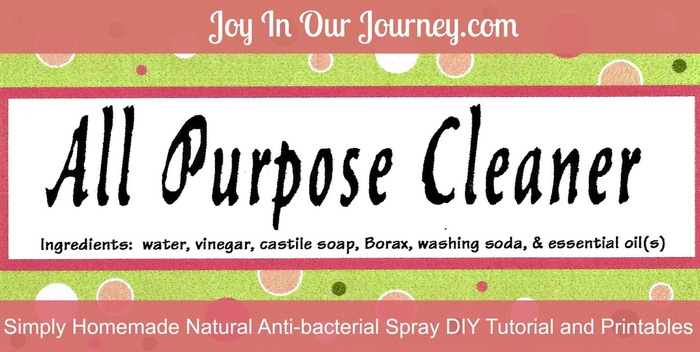
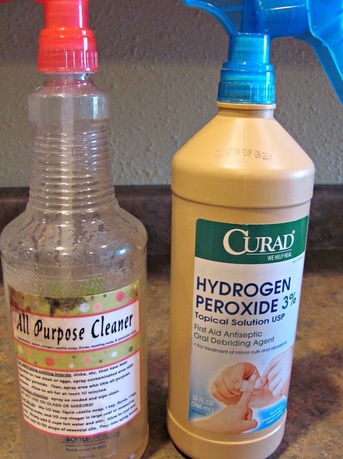
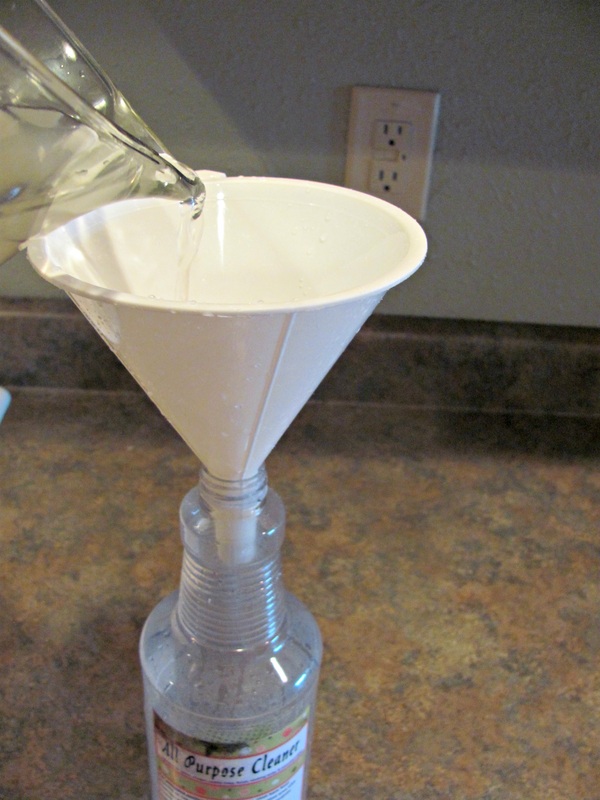
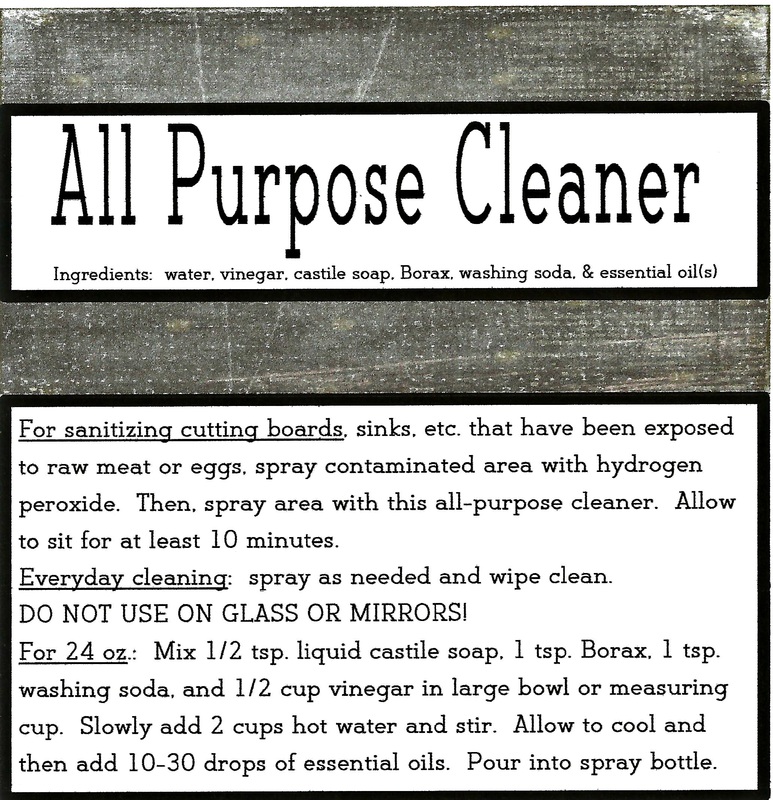 | Add your favorite label to your new bottle of Simply Homemade Natural All-Purpose Cleaner! When using this as an anti-bacterial spray, go ahead and spray the peroxide first; then, immediately spray the same area with the all purpose cleaner. Wait 10 minutes for the area to disinfect. |
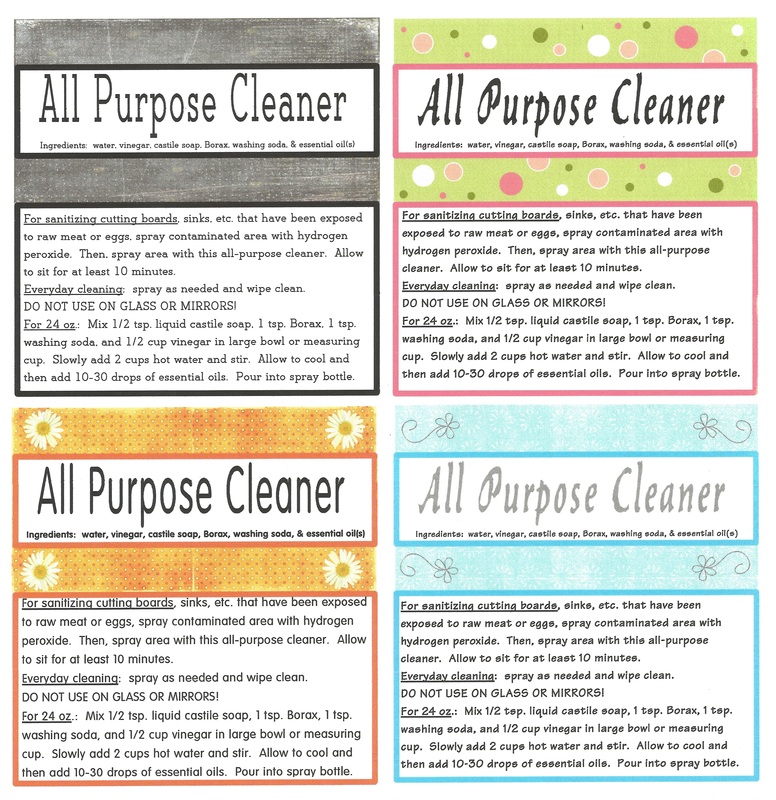
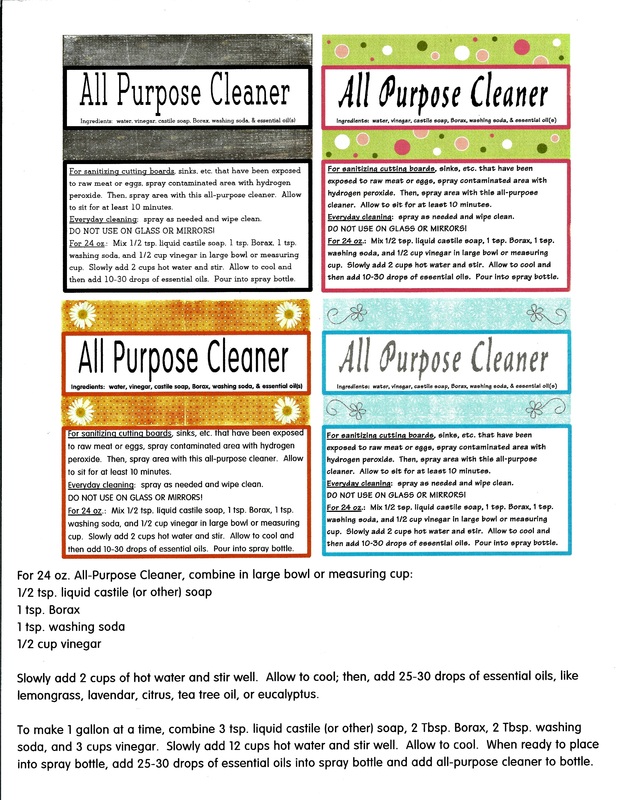
Now for your free printable labels to print for your own spray bottle:
Click on the page, below, to print off your own labels! You'll notice that directions on how to make another recipe of the all purpose cleaner are right there on the label!
How's that for a quick and easy alternative to using some of the strange and bizarre chemicals found in regular anti-bacterial household sprays?
Do you make any other cleaning chemicals for home cleaning purposes?

In the interest of full disclosure, some of the links in this post are “affiliate links.” This means if you click on the link and purchase the item, I receive a small affiliate commission, although your cost stays at the regular price. I only recommend products I use personally. Your purchases through these links help support Joy In Our Journey. I humbly thank you for your support.

Hi! I'm Julieanne!
You'll find me in the kitchen
trying new Trim Healthy Mama recipes, loving God, and carrying out that love as I bless my husband and teen daughters.
Find
Joy In Our Journey on:
Sign up to receive
Joy In Our Journey's
latest blog posts, freebies, and more!
Joy In Our Journey's
latest blog posts, freebies, and more!


I'd love to share your product with my readers. If you would like me to do a review and giveaway, just contact me via email and let me know how I can help.
Disclosure: Some content includes links to sponsors or affiliates, which
give me a small percentage of the sale without costing you anything
extra. You are not obligated to use these links when you make a
purchase, but when you do so, it helps to support this site, so thank
you!
Search
Joy In Our Journey
Loading
Archives
December 2016
August 2015
July 2015
March 2015
February 2015
January 2015
December 2014
November 2014
October 2014
September 2014
August 2014
July 2014
June 2014
May 2014
April 2014
March 2014
February 2014
January 2014
December 2013
November 2013
October 2013
September 2013
August 2013
July 2013
June 2013
May 2013
April 2013
March 2013
February 2013
January 2013
December 2012
November 2012
October 2012
September 2012
August 2012
July 2012
June 2012
May 2012
April 2012
March 2012
February 2012
January 2012
December 2011
November 2011
October 2011
September 2011
August 2011
July 2011
June 2011
May 2011
April 2011
March 2011
February 2011
January 2011
December 2010
November 2010
October 2010
September 2010
August 2010
July 2010
June 2010
May 2010
Photos from jaakko.hakulinen, theglobalpanorama, Sarah Korf, jeffreyw, crayonmonkey, Joshua Singh, Sam Howzit, kimberlyac, miggslives, rust.bucket, Derick Leony, Big D2112, Violette79, Andrea.Pacheco, youngthousands, niiicedave, mommyknows, Dominic's pics, sleepyneko, madaise, Daquella manera, Arild Andersen, TounoTouji, jchapiewsky, dennis, cooper.gary, supersum (off), advisorymatters, Nomadic Lass, Effervescing Elephant, ralph and jenny, alubavin, brendan-c, ImNotQuiteJack, jeffreyw, iamlemonfilm, Colin_K, Andrew Michaels, ivoryelephantphotography, bennylin0724, Jo Naylor, daveoratox, f10n4, Bludgeoner86, Ack Ook, BiblioArchives / LibraryArchives, pylbug, limaoscarjuliet, Barbara L. Hanson, CapitalK buy design, Vibragiel, matthiasxc, Podknox, qnr, Sadie_Girl, ComputerHotline, pppspics, Anna Loverus, Joi, Rob.Bertholf, Sheyla Ruiz, nachans, ♥serendipity, IsaacMao, *cart-wheels*, TRFPhotography, vxla, lisaclarke, Missouri History Museum, doortoriver, sunshinecity, anna gutermuth, USCPSC, L. Allen Brewer, bluebirdsandteapots, ell brown, vestman, *PaysImaginaire*, mightyohm, Lars Plougmann, Alex_Lewis116, yoppy, HealthGauge, 401(K) 2013, aprilandrandy, Ben Sutherland, Mason Masteka, WillowGardeners, MStewartPhotography, “Caveman Chuck” Coker, kodomut, DanCentury, TrishaLyn, Katie@!, Looking Glass, Nicholas_T, Francis Storr, Allie_Caulfield, Creative Tools, Aidan Jones, Tim Brown Architecture, HerryLawford, Brett Levin Photography, Gudlyf, Chocolate Reviews, greggoconnell, EmilyWhitwam, Phú Thịnh Co, ilovememphis, cliff1066™, Chi King, erix!, Tony Fischer Photography, GlasgowAmateur, ktylerconk, cfourcalvin, David Locke, blhphotography, dominiqs, quinet, stevendepolo, surlygirl, guzzphoto, mikebaird, rich701, coolmikeol, procsilas, • Happy Batatinha •, pmarkham, Luz Adriana Villa A., LisaW123, fireballsedai, CJS*64, gagilas, Christian Haugen, freddie boy, tausend und eins, fotografik, roland, nedradio, makelessnoise, Salvation Army USA West, TheAlieness GiselaGiardino²³, Arenamontanus, 401(K) 2013, f_mafra, trippingbobcat, brooklyn, Viajar24h.com, yanajenn, jamieanne, hardworkinghippy, ccharmon, eofstr, Julia Manzerova, jhoc, Orin Zebest, battlecreekcvb, jmrodri, trekkyandy, timsnell, Salil Wadhavkar, ewen and donabel, Ted Van Pelt, David Paul Ohmer, Kevin May, CCAC North Library, I_Nneska, AlphaTangoBravo / Adam Baker, dwstucke, Bonnie B., elise.y, Bill Selak, sam_churchill, JD Hancock, olga.palma, cbr_case, acme, alyak, creating in the dark, TrishaLyn, jacilluch, hans s, cwwycoff1, Karen Roe, AlexiUeltzen, surrelmar, Jeff Kubina, rich701, adie reed, pacificbro, dwstucke, rharrison, avlxyz, Jim, the Photographer, Danndalf, storebukkebruse, rodaniel, dicktay2000, exfordy, torres21, Mr. T in DC, avlxyz, andrealindenberg, HarshLight, stevendepolo, publicenergy, Jan Tik, aechempati, ume-y, xfce, Pink Sherbet Photography, nlian, bittle, bradleygee, rs-foto, JamieDrakePhotos, SimonDoggett, slopjop, Norman B. Leventhal Map Center at the BPL, BozDoz, GoRun26, prettyinprint, WTL photos, Minnesota Historical Society, www.bluewaikiki.com, stevendepolo, LibAmanda, jspatchwork, Jinx!, ncmichael2k3, Clevergrrl, michaelkmak, Generationbass.com, Dougtone, roger4336, slgckgc, twicepix, lisatozzi, Lee Nachtigal, Kevin Lawver, brianfuller6385, jamieanne, quinn.anya, SupremeCrete, StockMonkeys.com, OliverN5, jeffreyw, Muffet, krossbow, fdecomite, JeepersMedia, jimmiehomeschoolmom, Zanastardust, joyosity, frotzed2, szapucki, Vincent van der Pas, normalityrelief, Emily Carlin, Clevergrrl, allyrose18, sleepyneko, Jeff Kubina, efleming, Artman1122, notjustsquirrels, PhotoAtelier, roolrool, onnola, Charles Williams, greggoconnell, Highway Patrol Images, andrechinn, loop_oh, ayustety, toinerooijmans, vmiramontes, Claricethebakergardener, mind on fire, jimmiehomeschoolmom, Kat Johnston / Sanura Sakai, toinerooijmans, rfduck, stu_spivack, OmegaPoint, ingridtaylar, AdamSelwood, Gog Llundain, pbody
